Connecting Lovable to GitHub
This is a hands-on guide for connecting a Lovable project to GitHub, and using GitHub's tools — issues, pull requests, and Copilot — to make and review changes outside of Lovable's own chat-based editing. Written so you can follow along directly from this post.
A quick concept first: what is GitHub, and why would you need it? Every Lovable
project is backed by real source code — folders and files that produce the preview
you see in the editor. GitHub is a source control tool (built on the open-source git
system) that solves two problems every software project eventually runs into:
- Code distribution — if more than one person (or more than one AI tool) is changing the same project, everyone needs a shared, up-to-date copy of the code. Doing this by manually sending files back and forth breaks down almost immediately.
- Code revision — a record of who changed what, when, and why, with the ability to roll back a bad change. Without it, a mistake is permanent; with it, it's one click to undo.
You don't strictly need GitHub to build with Lovable — there's no roadblock stopping you. But you'll want it the moment you need to edit code outside Lovable (with Claude Code or another AI tool), deploy somewhere other than Lovable, or simply want your work backed up somewhere other than your own laptop.
Part 1: Connect Your Project to GitHub
Step 1 — Open Project Settings → Git. From your project, open Project Settings and select the Git tab in the sidebar.
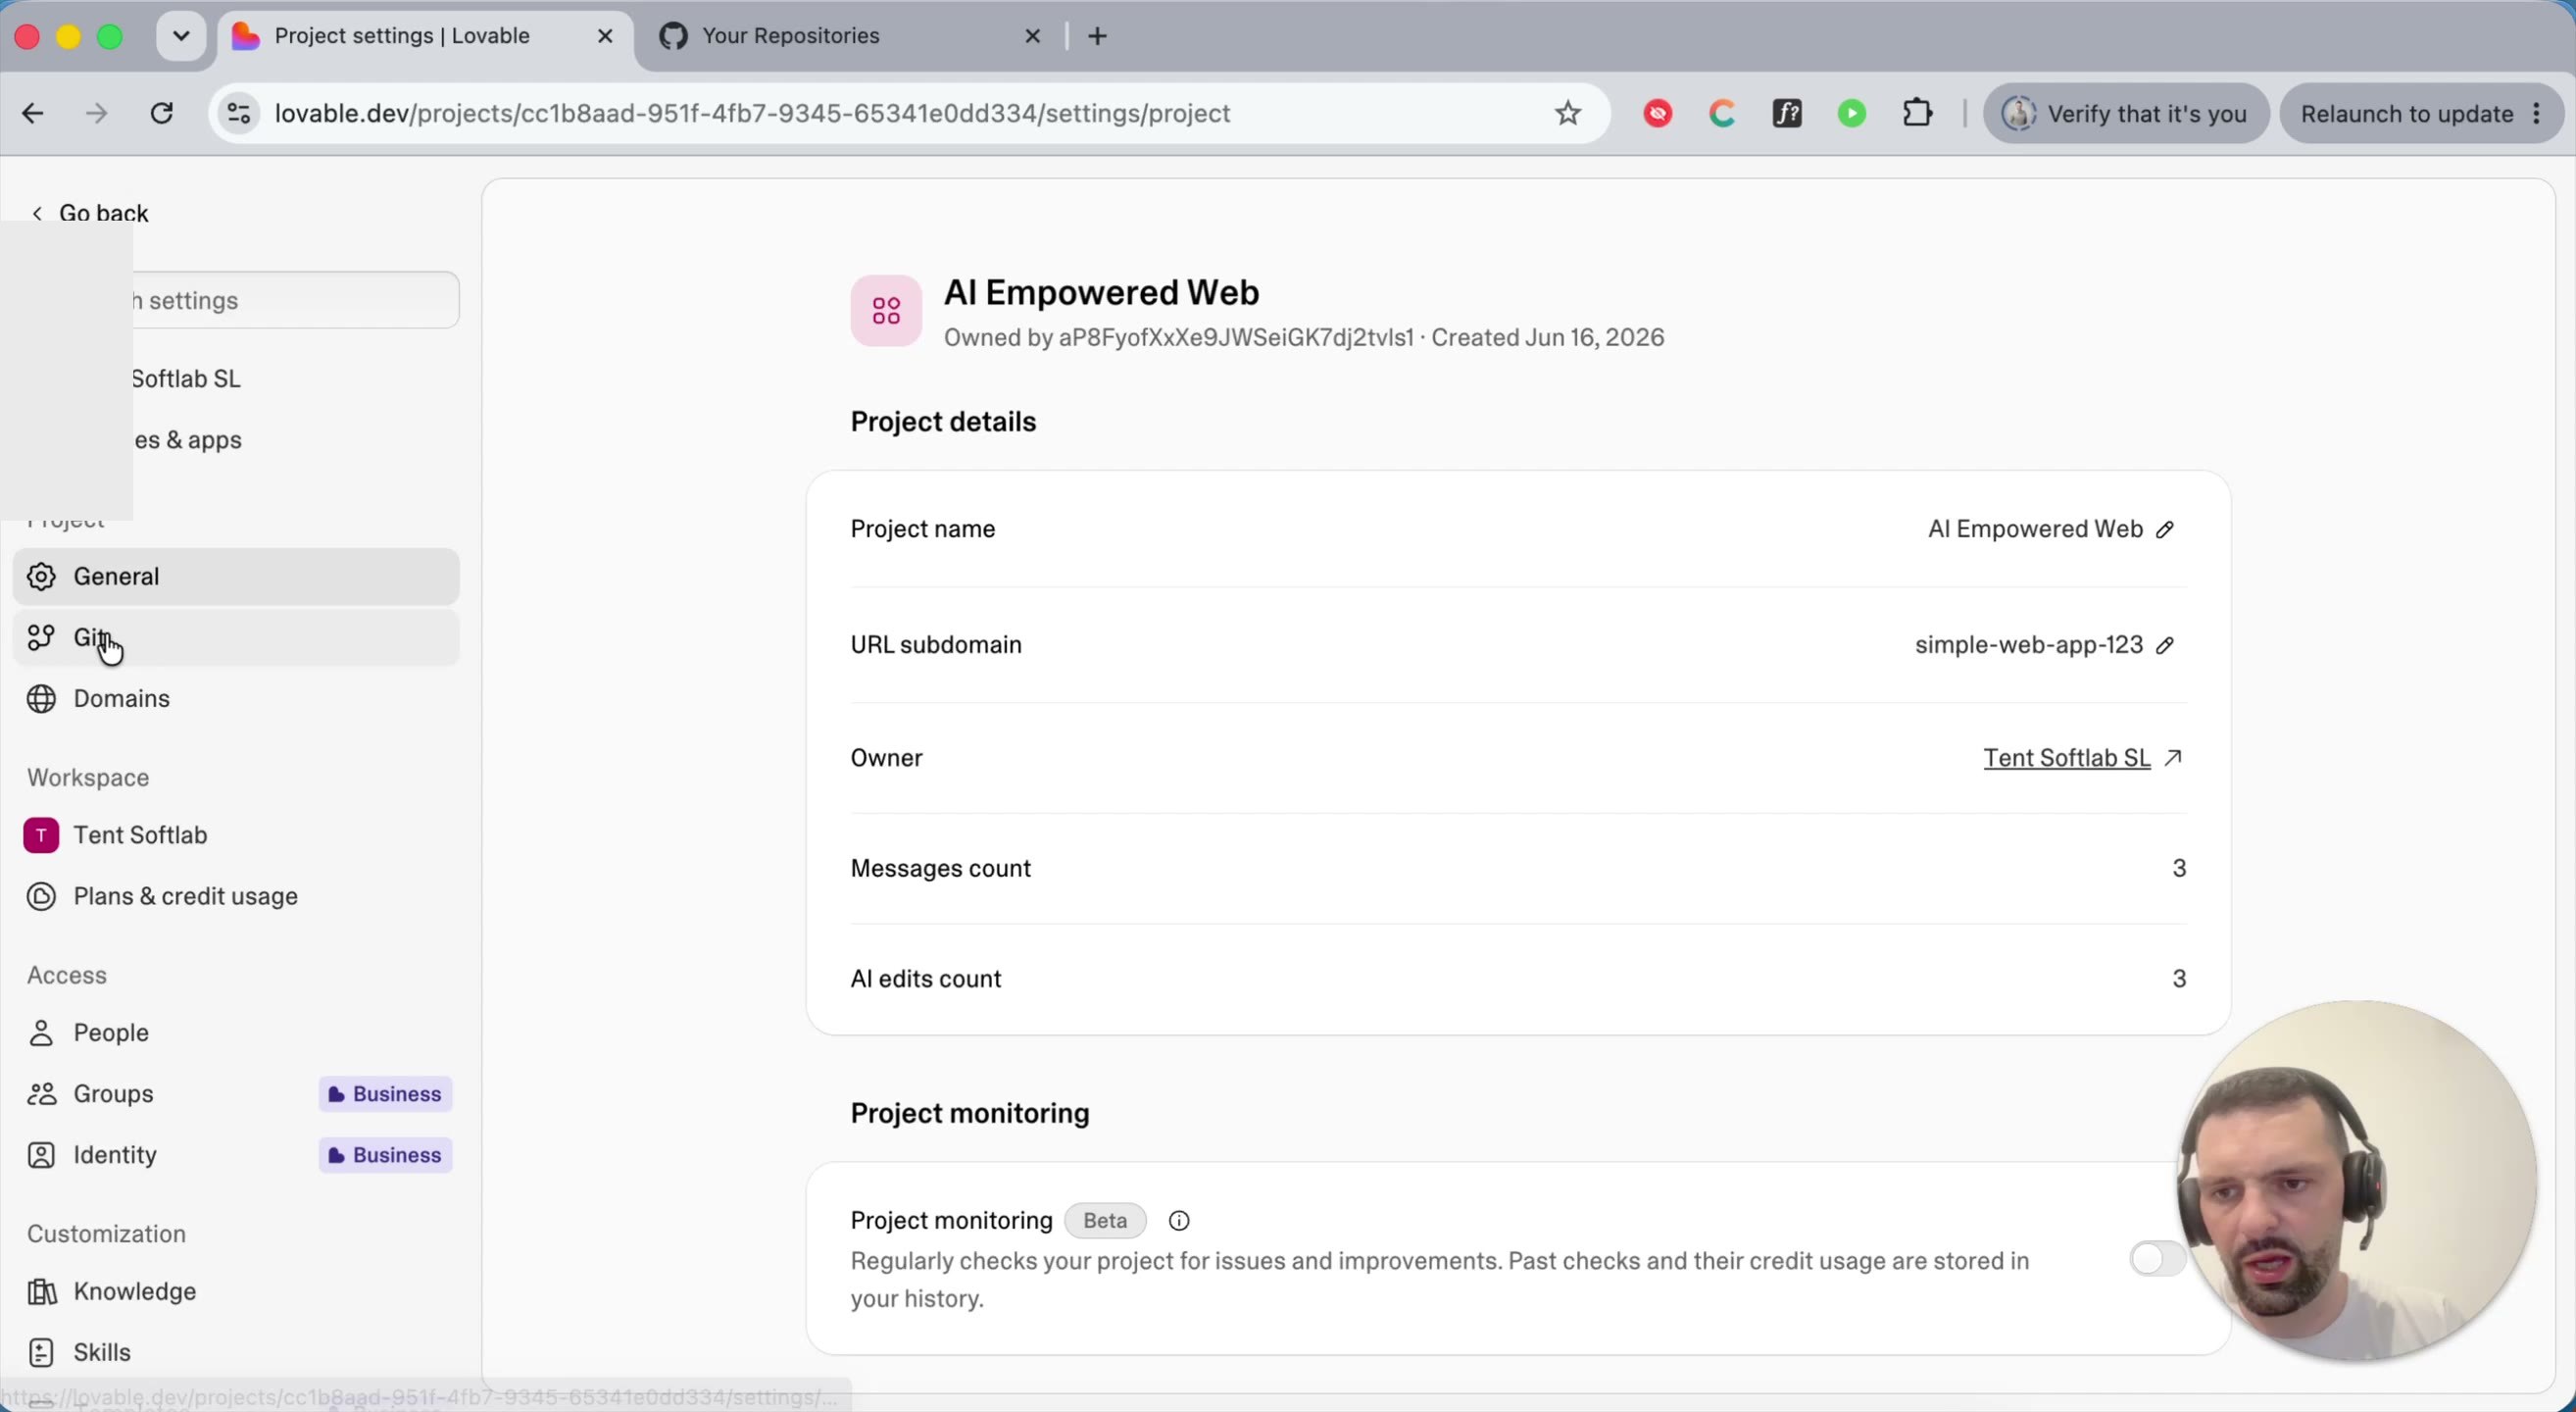
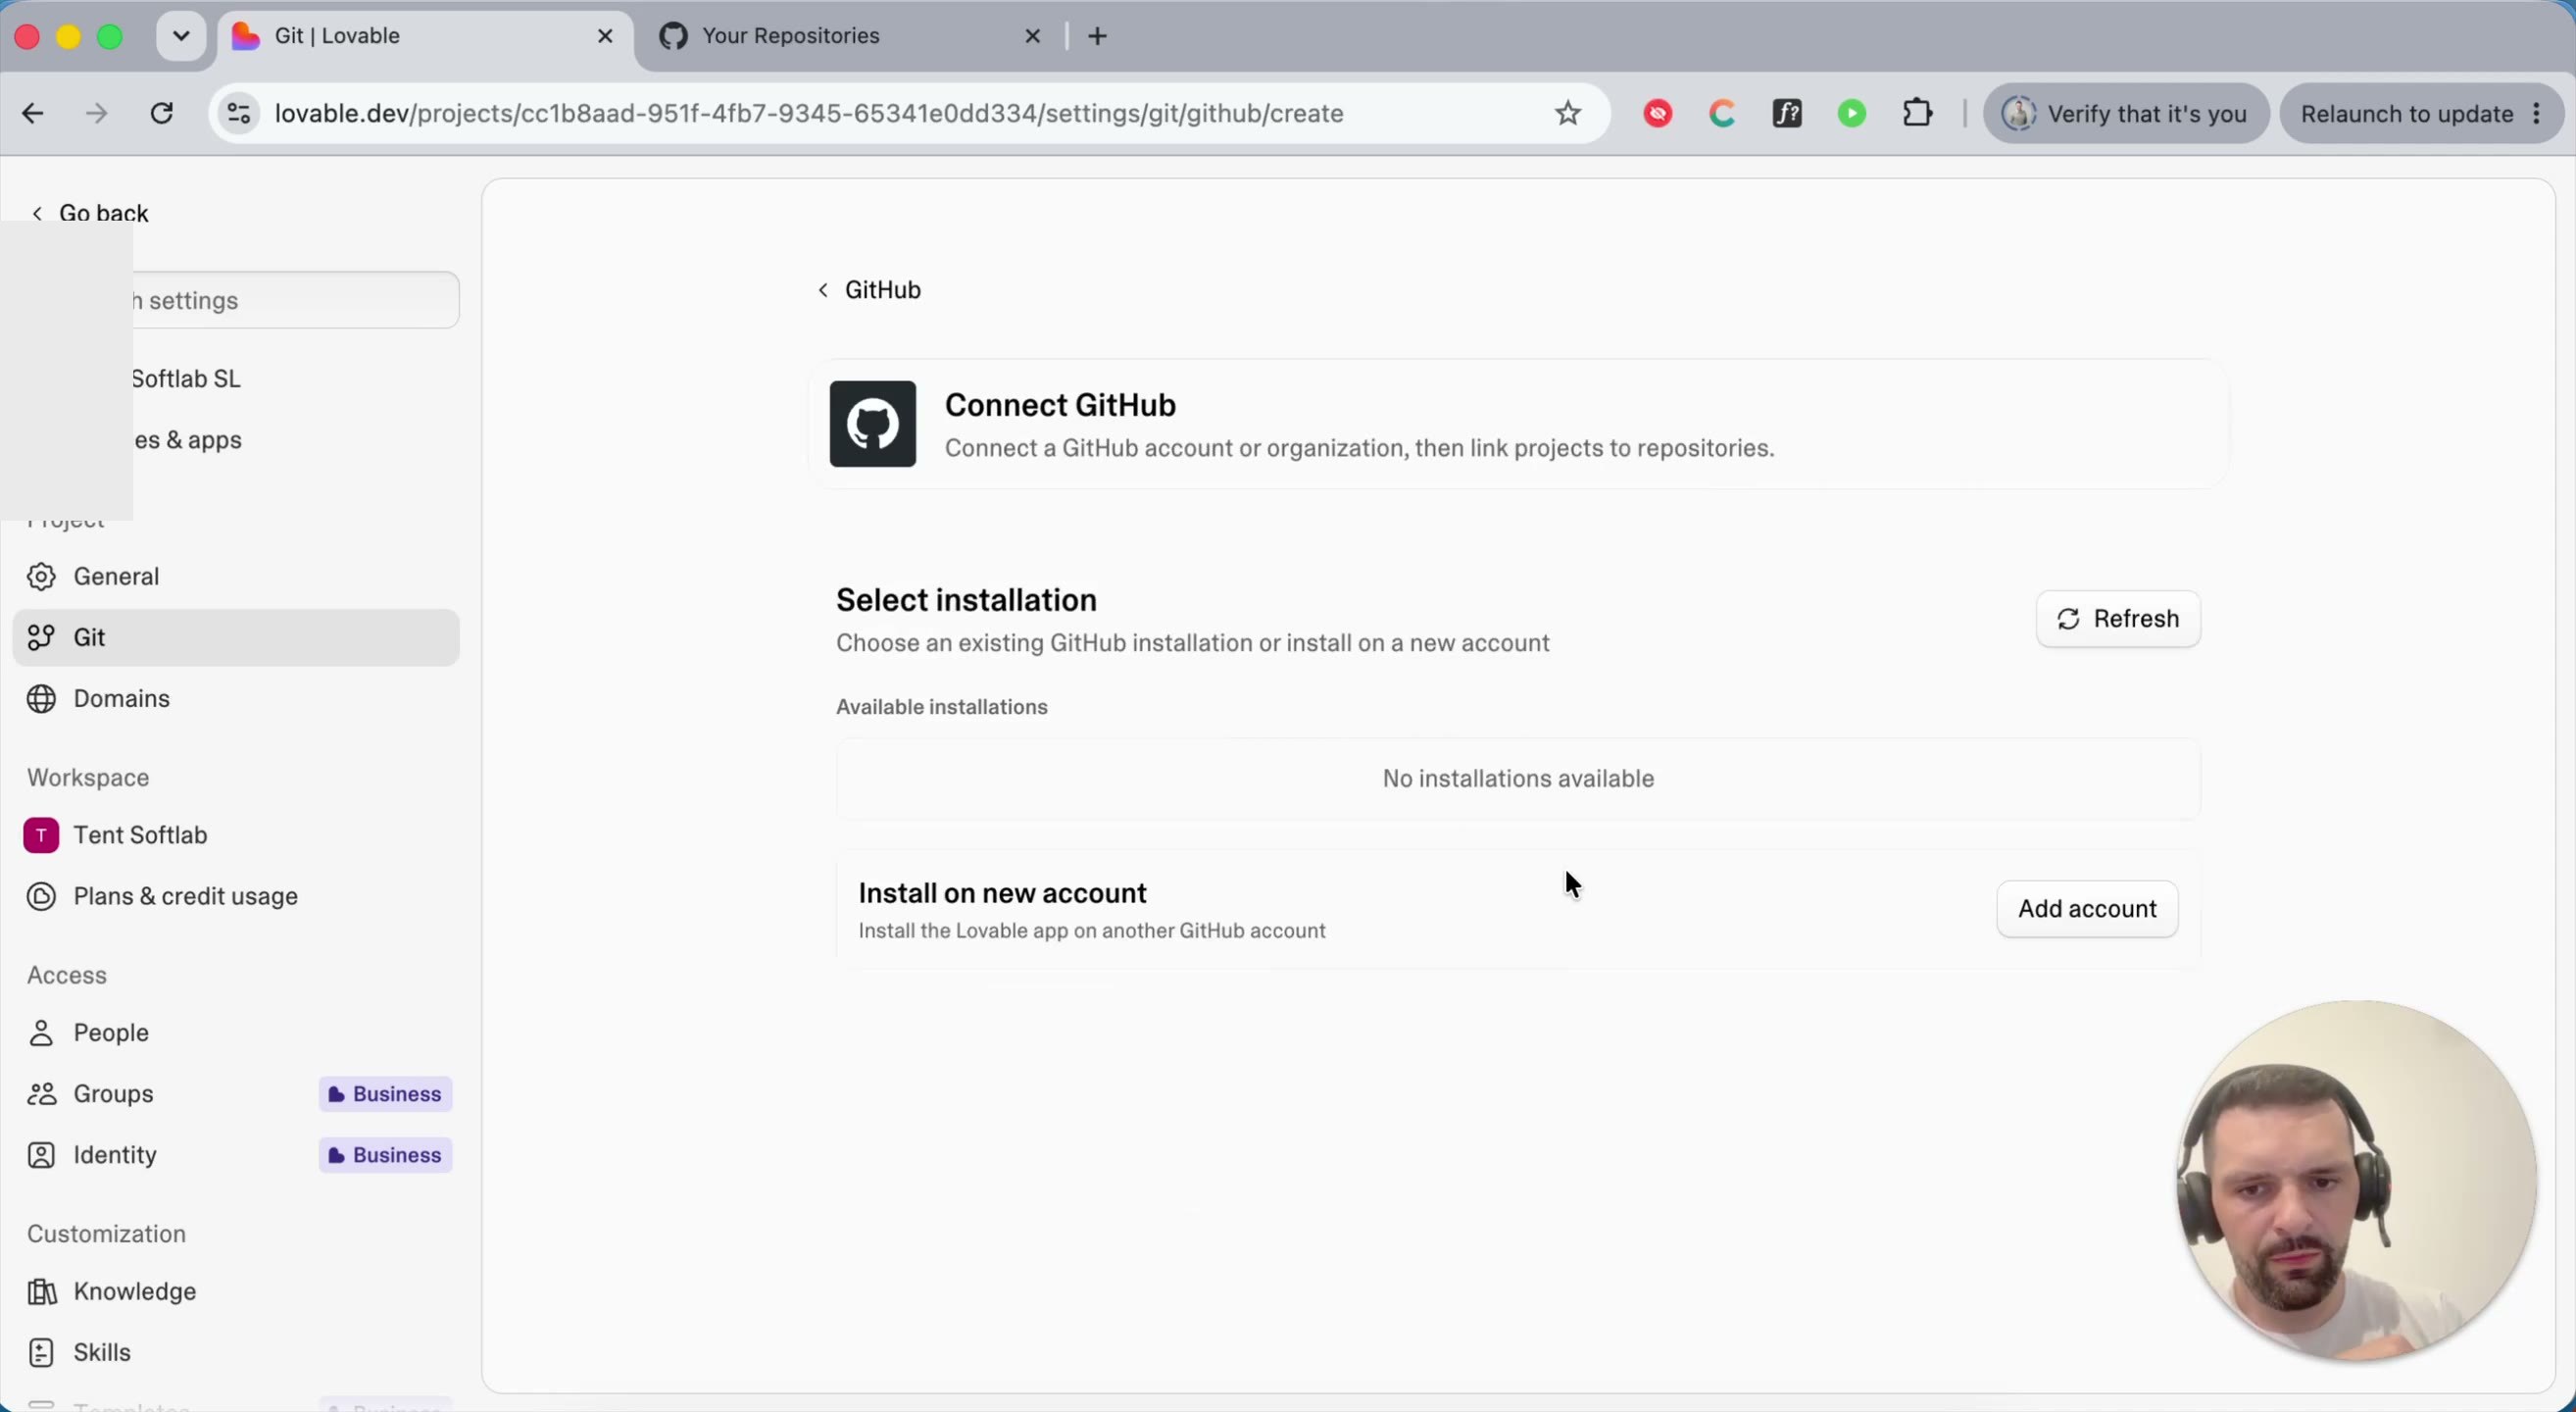
Step 2 — Start the connection. On the Git page, click Connect GitHub. If this is your first time connecting, you'll see "No installations available" — click Add account to install the Lovable GitHub app.
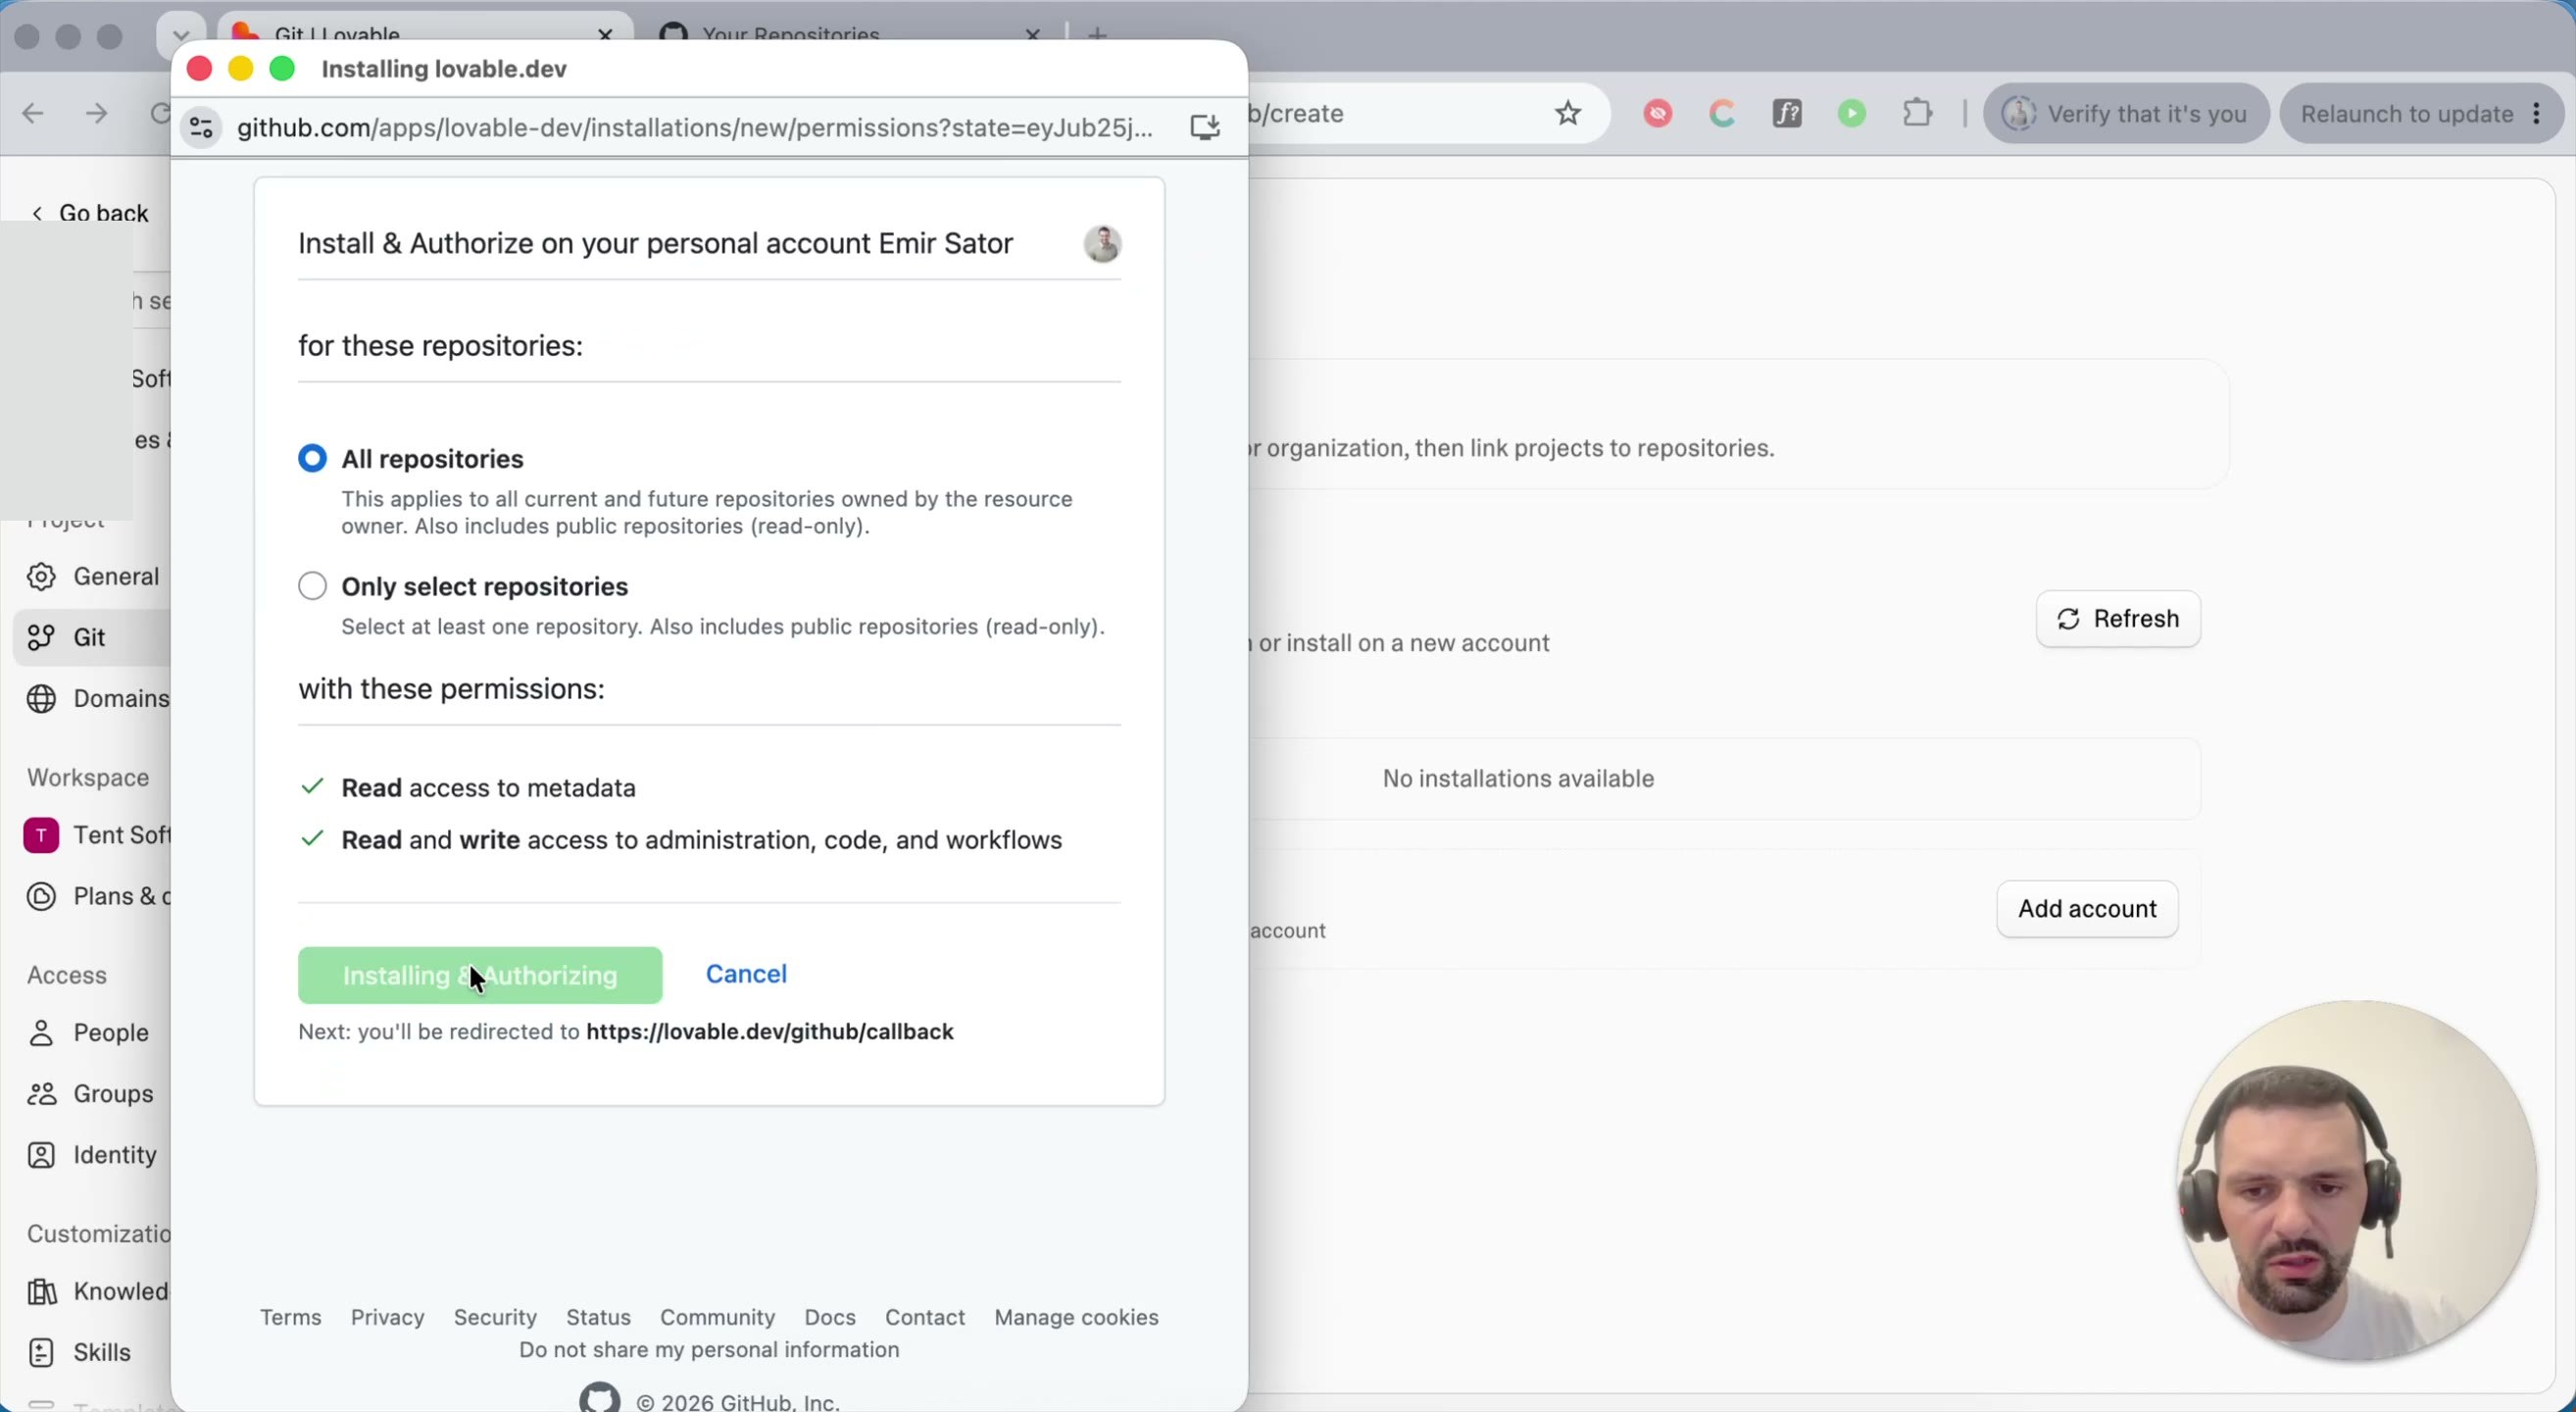
Step 3 — Authorize the app on your GitHub account. GitHub will ask which account to install on (personal or an organization) and how much access to grant. All repositories applies to everything you currently own and anything you create later; Only select repositories limits it to specific repos you choose. Either is fine — "All repositories" is the simpler default if this is your own account.
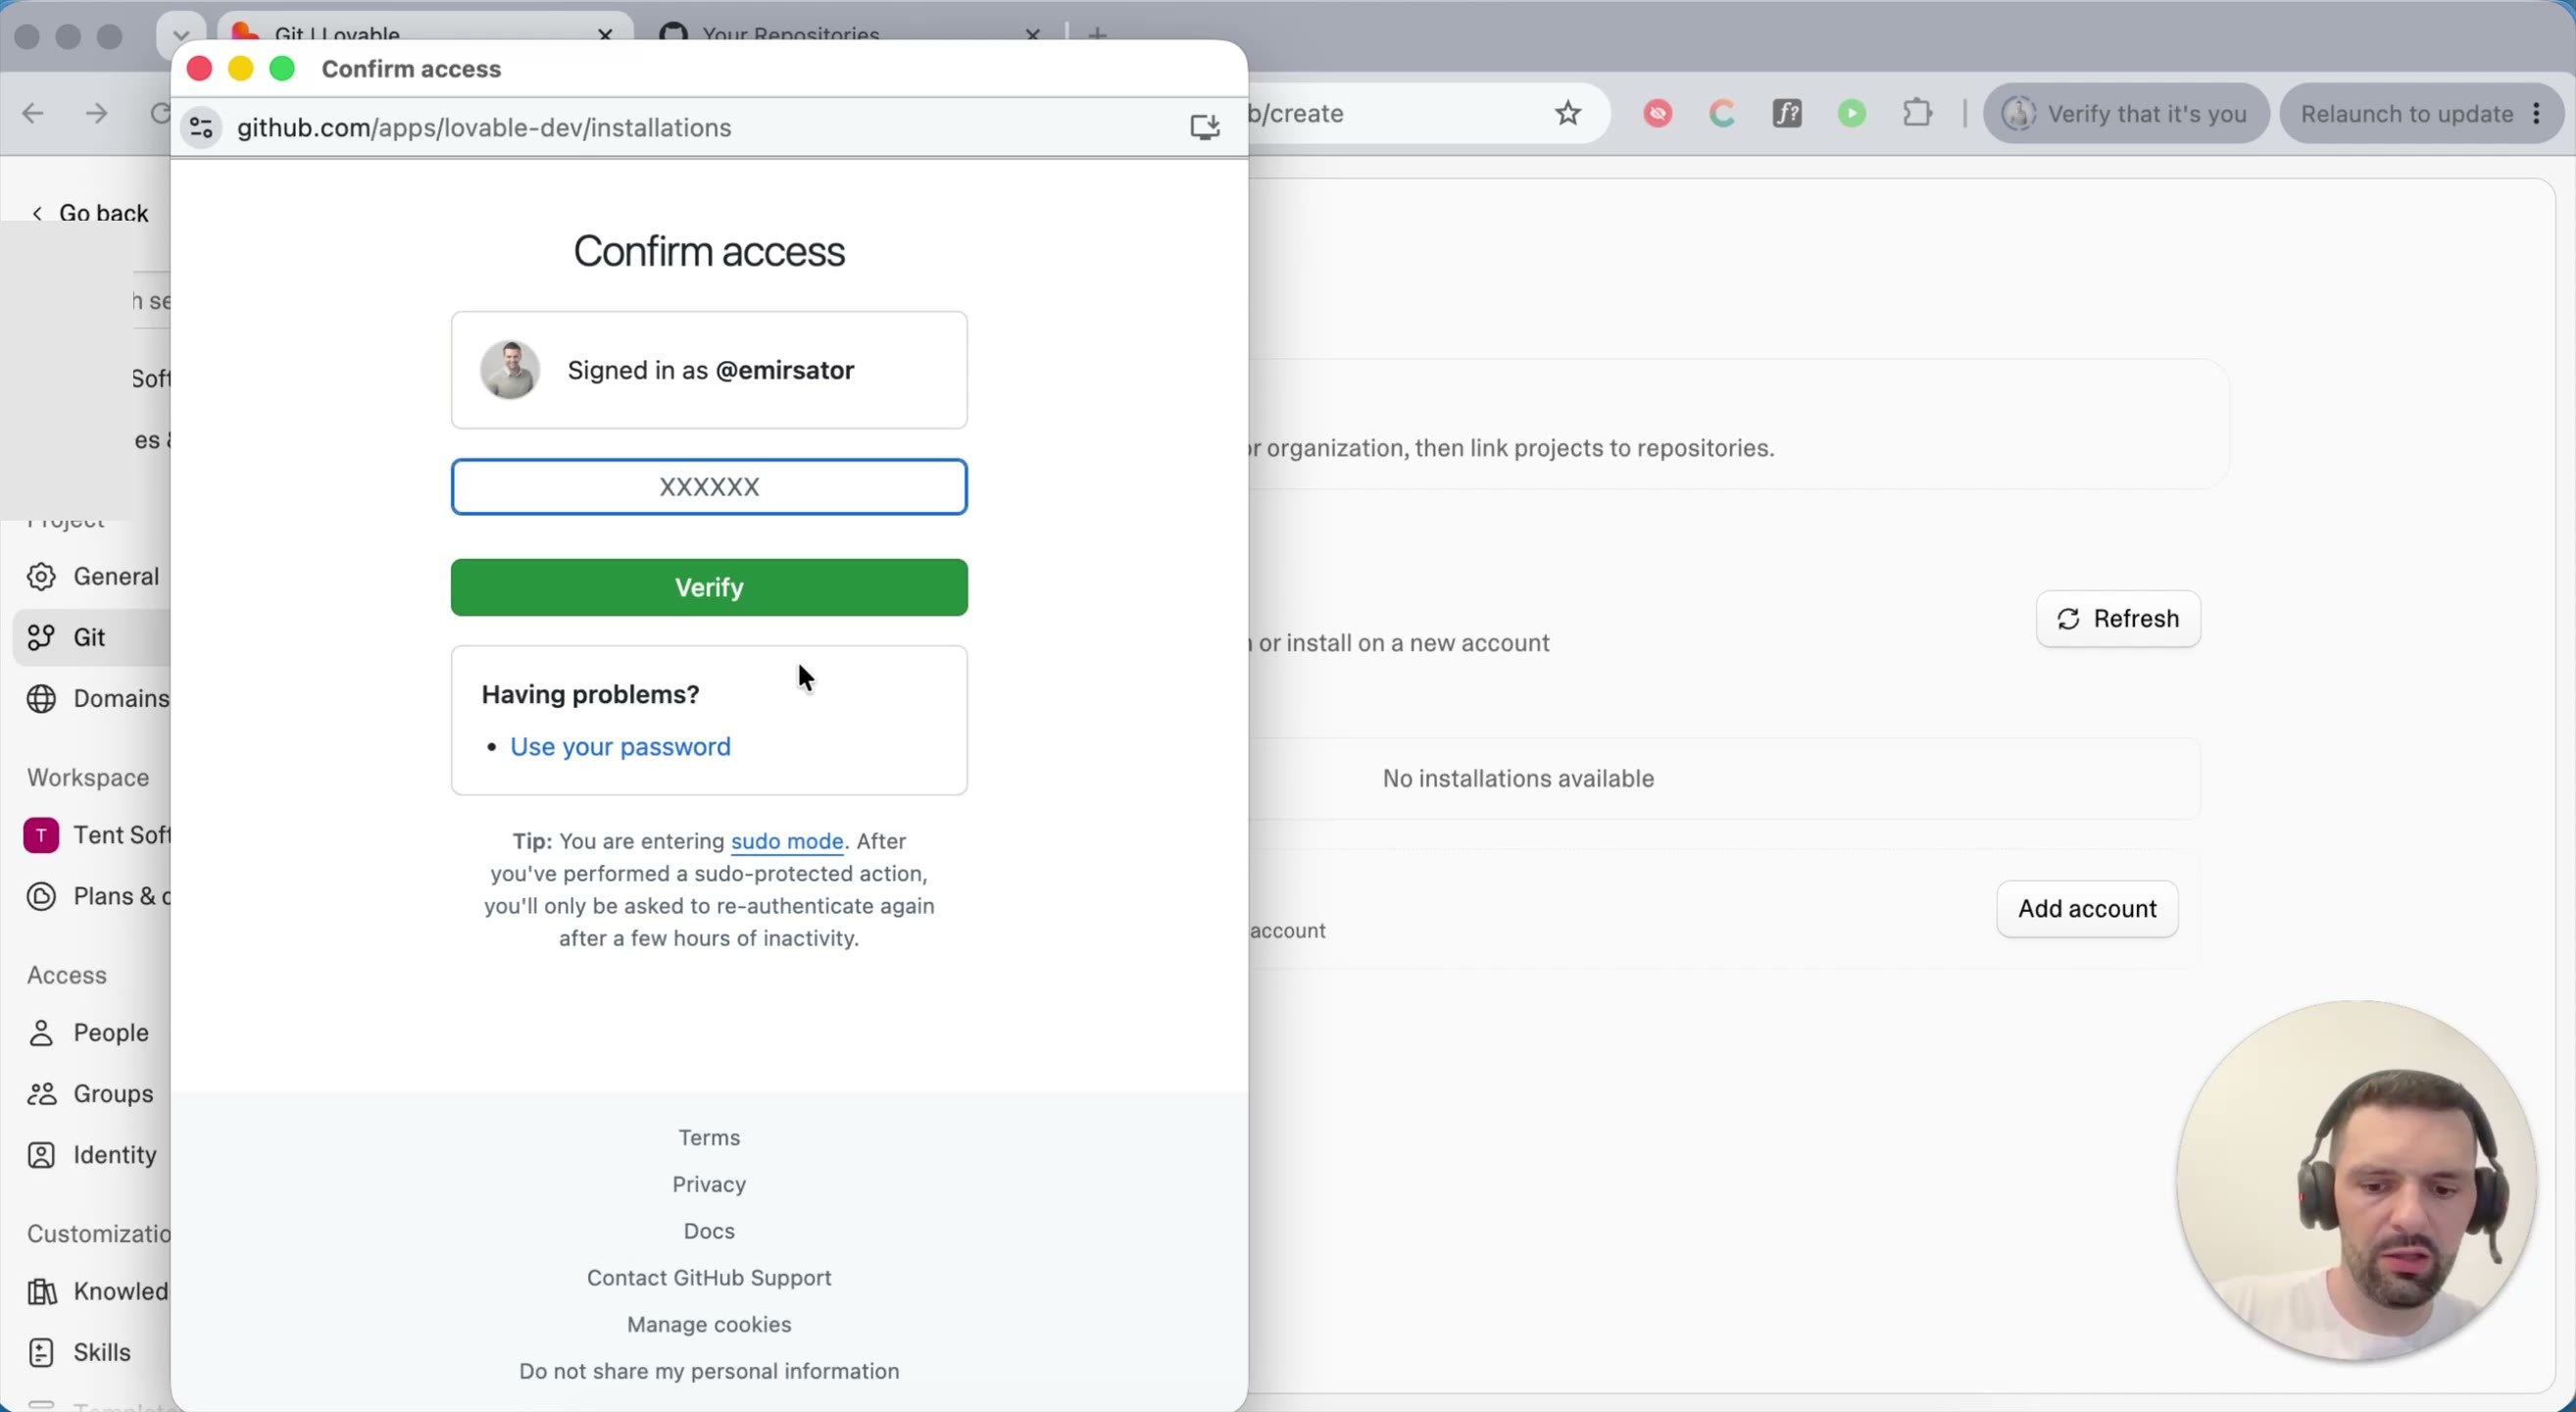
Step 4 — Verify with two-factor authentication. GitHub will ask you to confirm your identity before granting access. This is a good moment for a general recommendation: enable 2FA on every tool you use, not just GitHub — it's one of the single most effective things you can do for account security.
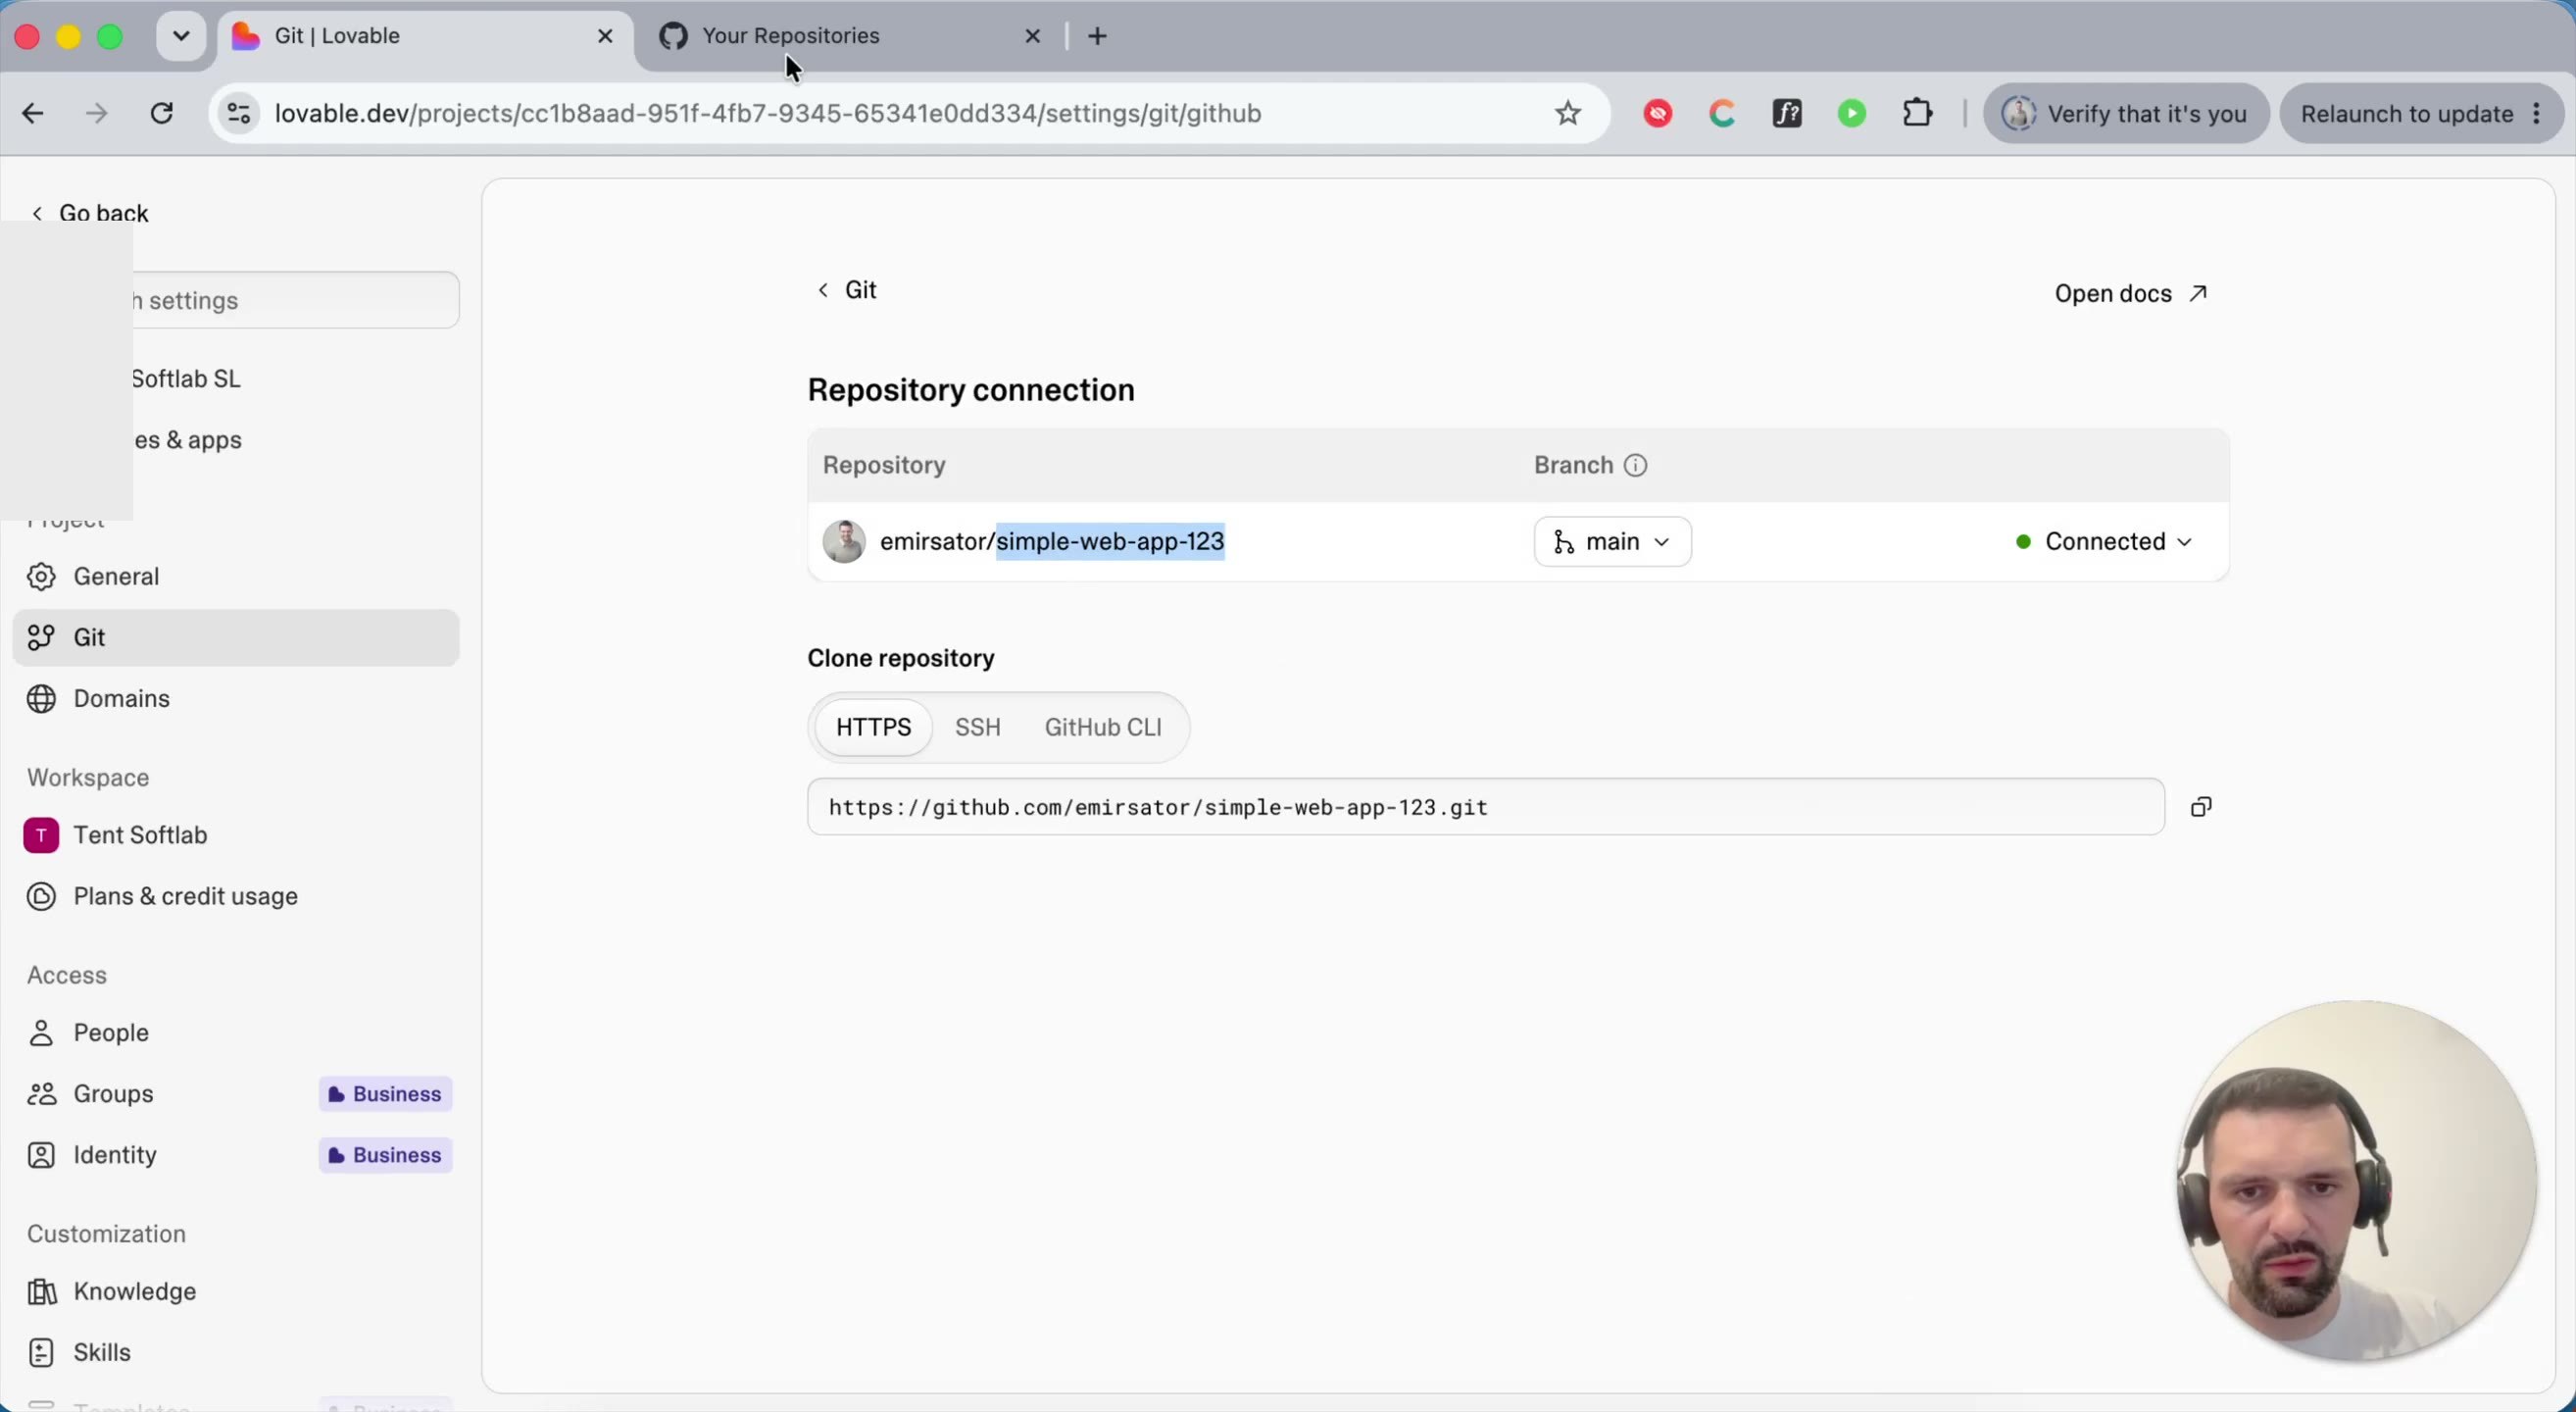
Step 5 — Confirm the repository connection. Back in Lovable, the Git page now
shows your repository connected to the main branch, with a green Connected
status and a clone URL if you want to work with it locally.
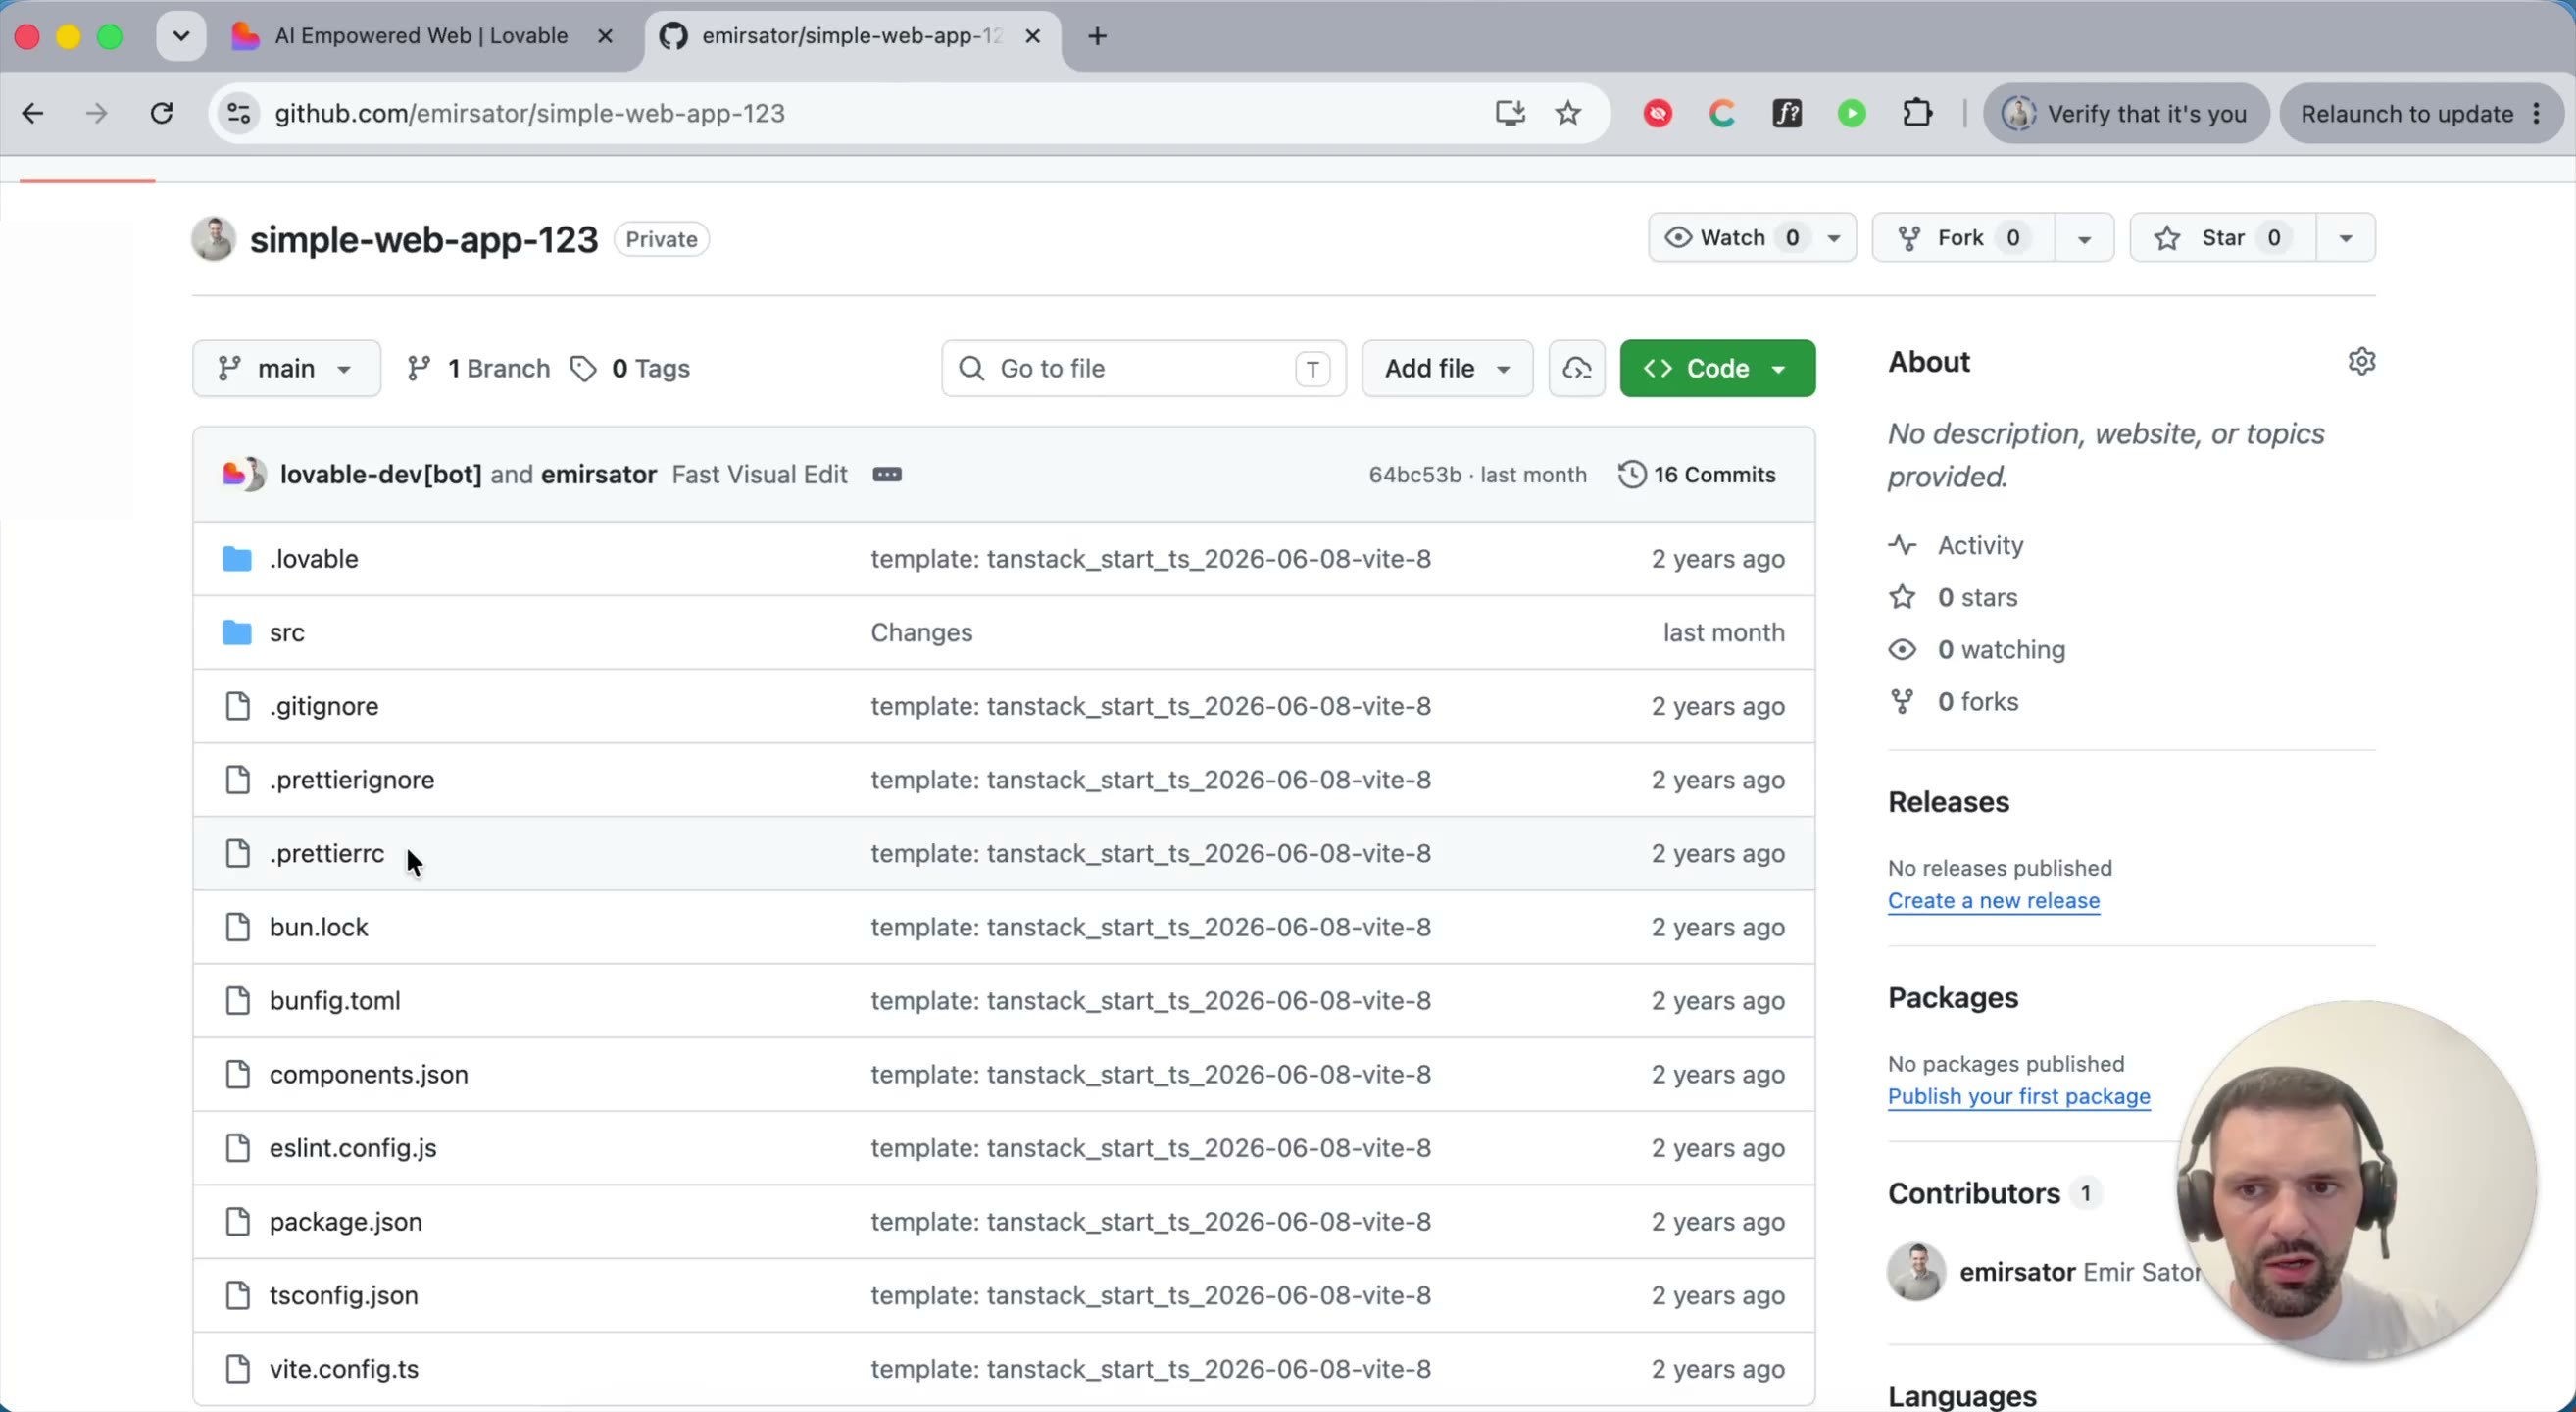
Step 6 — Check GitHub itself. Open the repository on github.com and you'll see every file from your Lovable project already there — the same source that produces your preview.
Part 2: Making Changes with Issues and Copilot
GitHub is also a practical way to track work on a project, not just the code itself. Issues are tickets — a place to describe a change you want made, which is especially useful once more than one person is contributing.
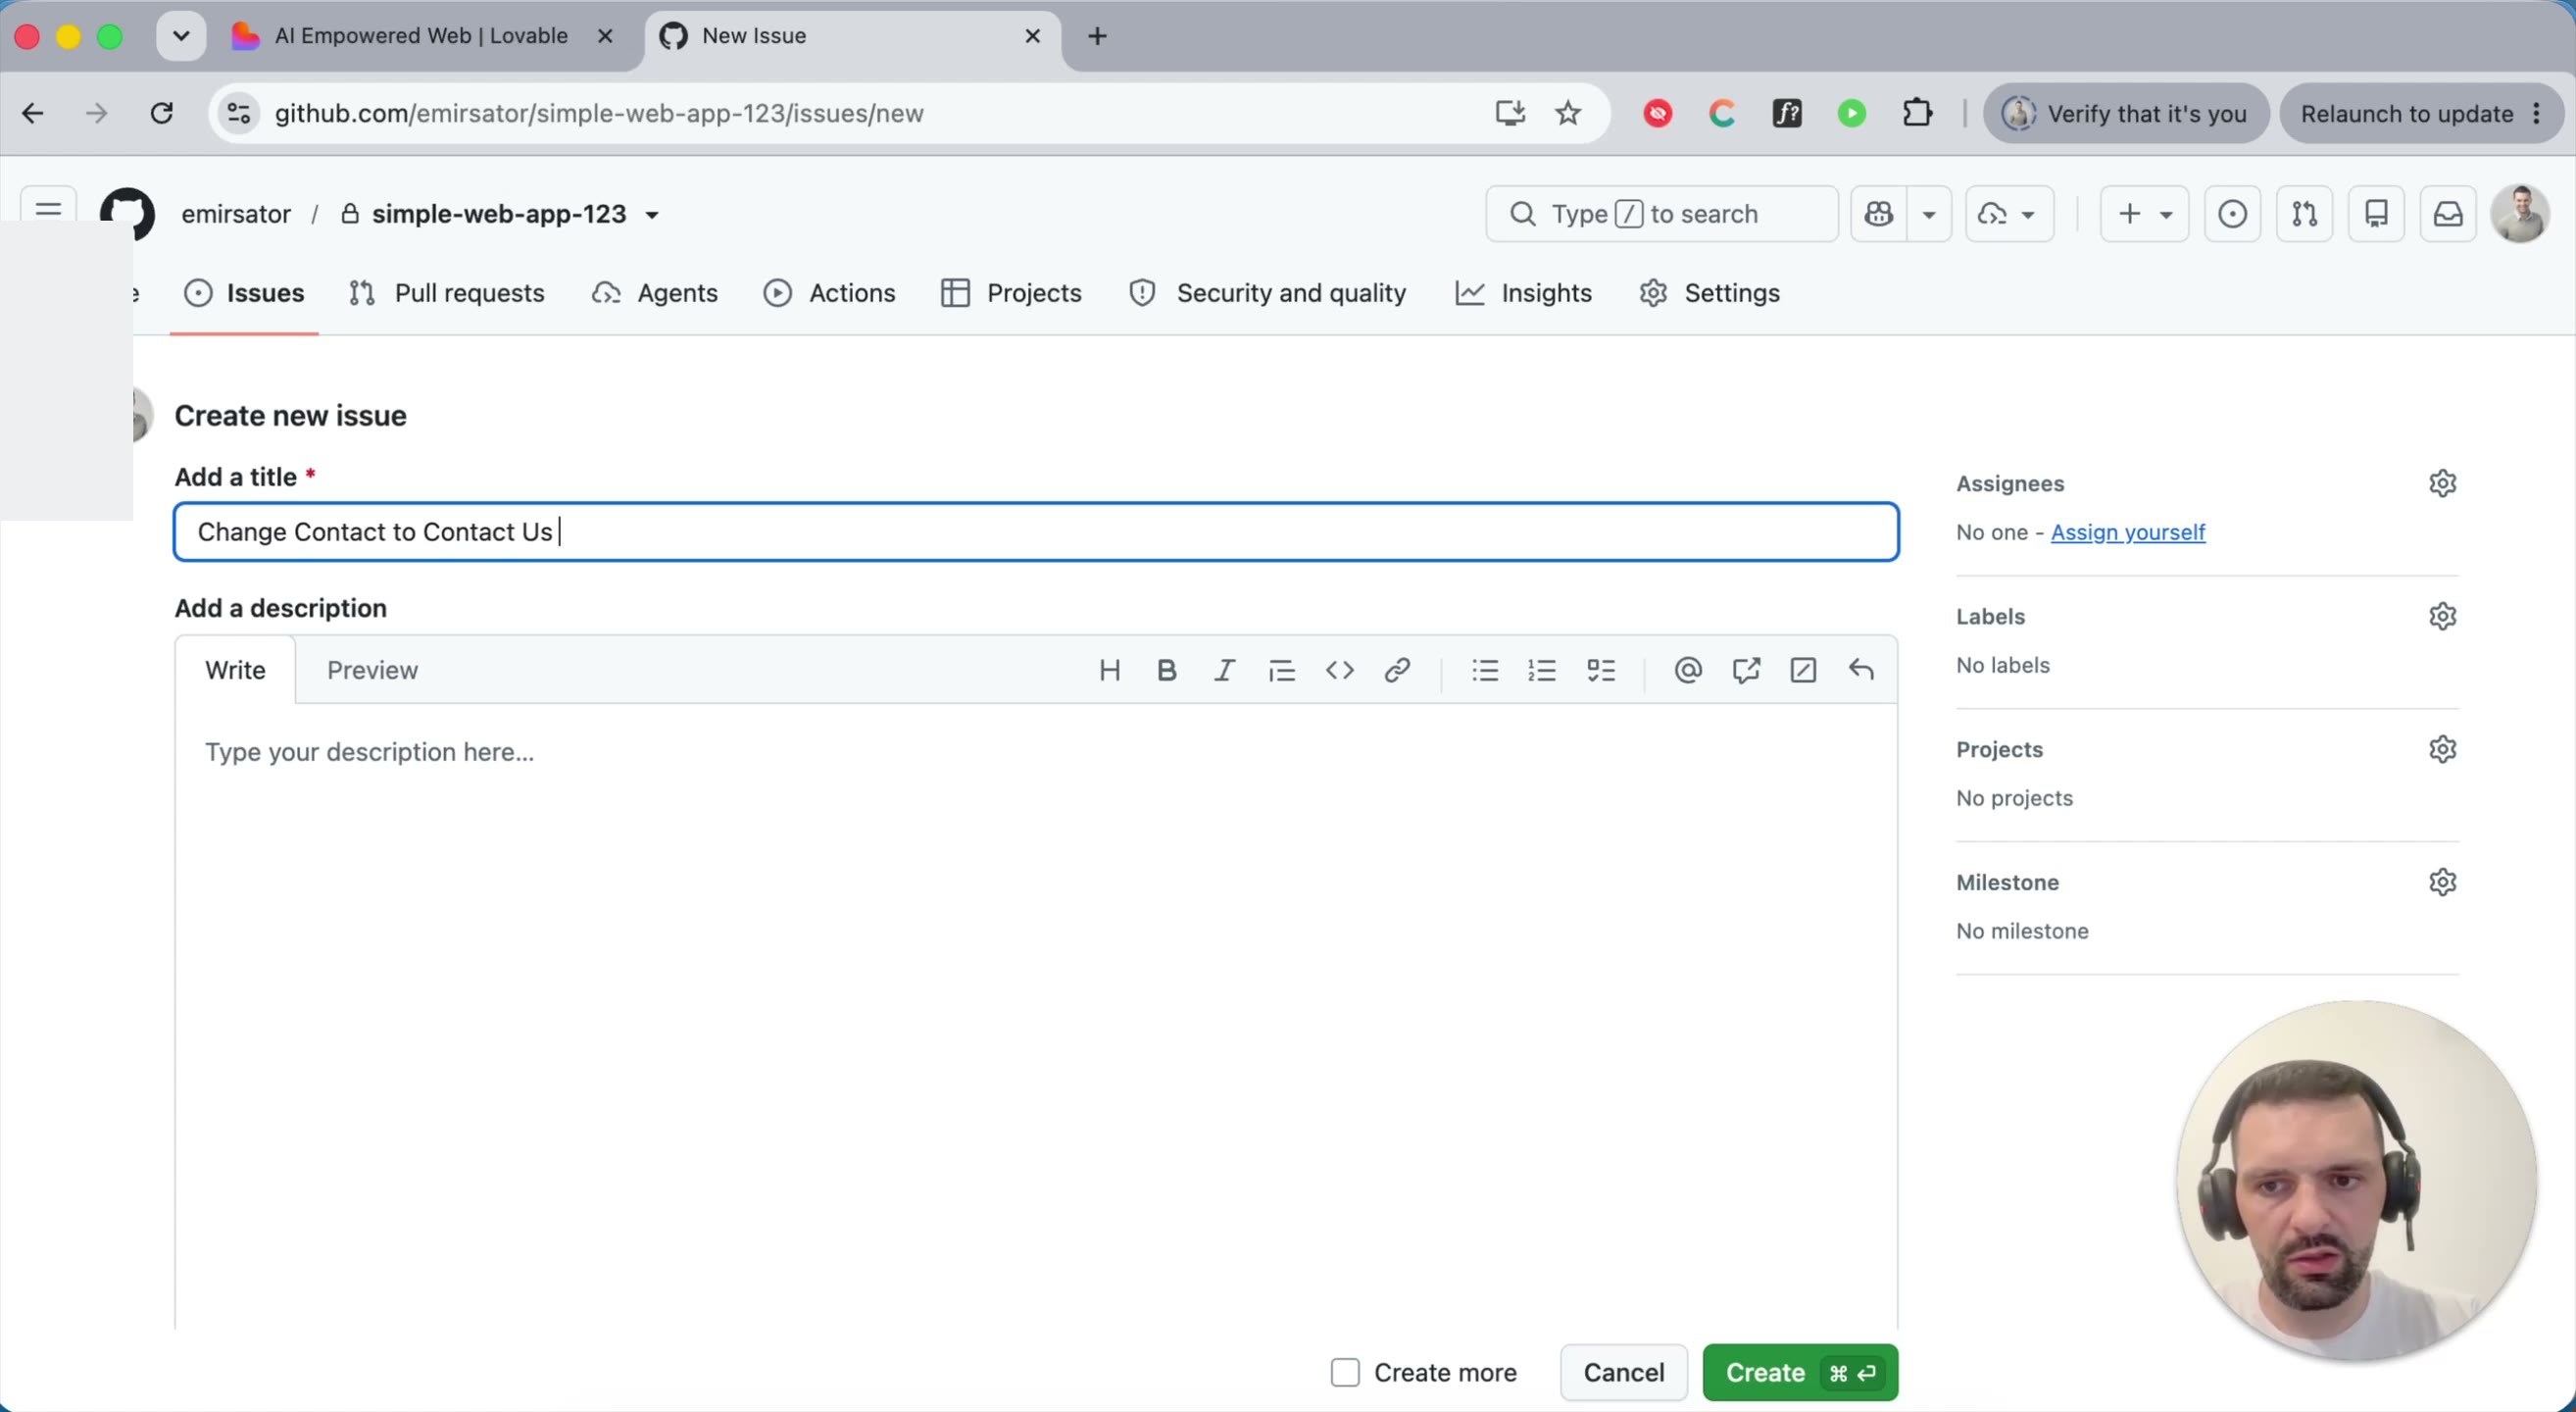
Step 7 — Create an issue for a change. On GitHub, go to Issues → New issue and describe what you want changed. This example asks for the "Contact" navigation label to read "Contact Us" instead.
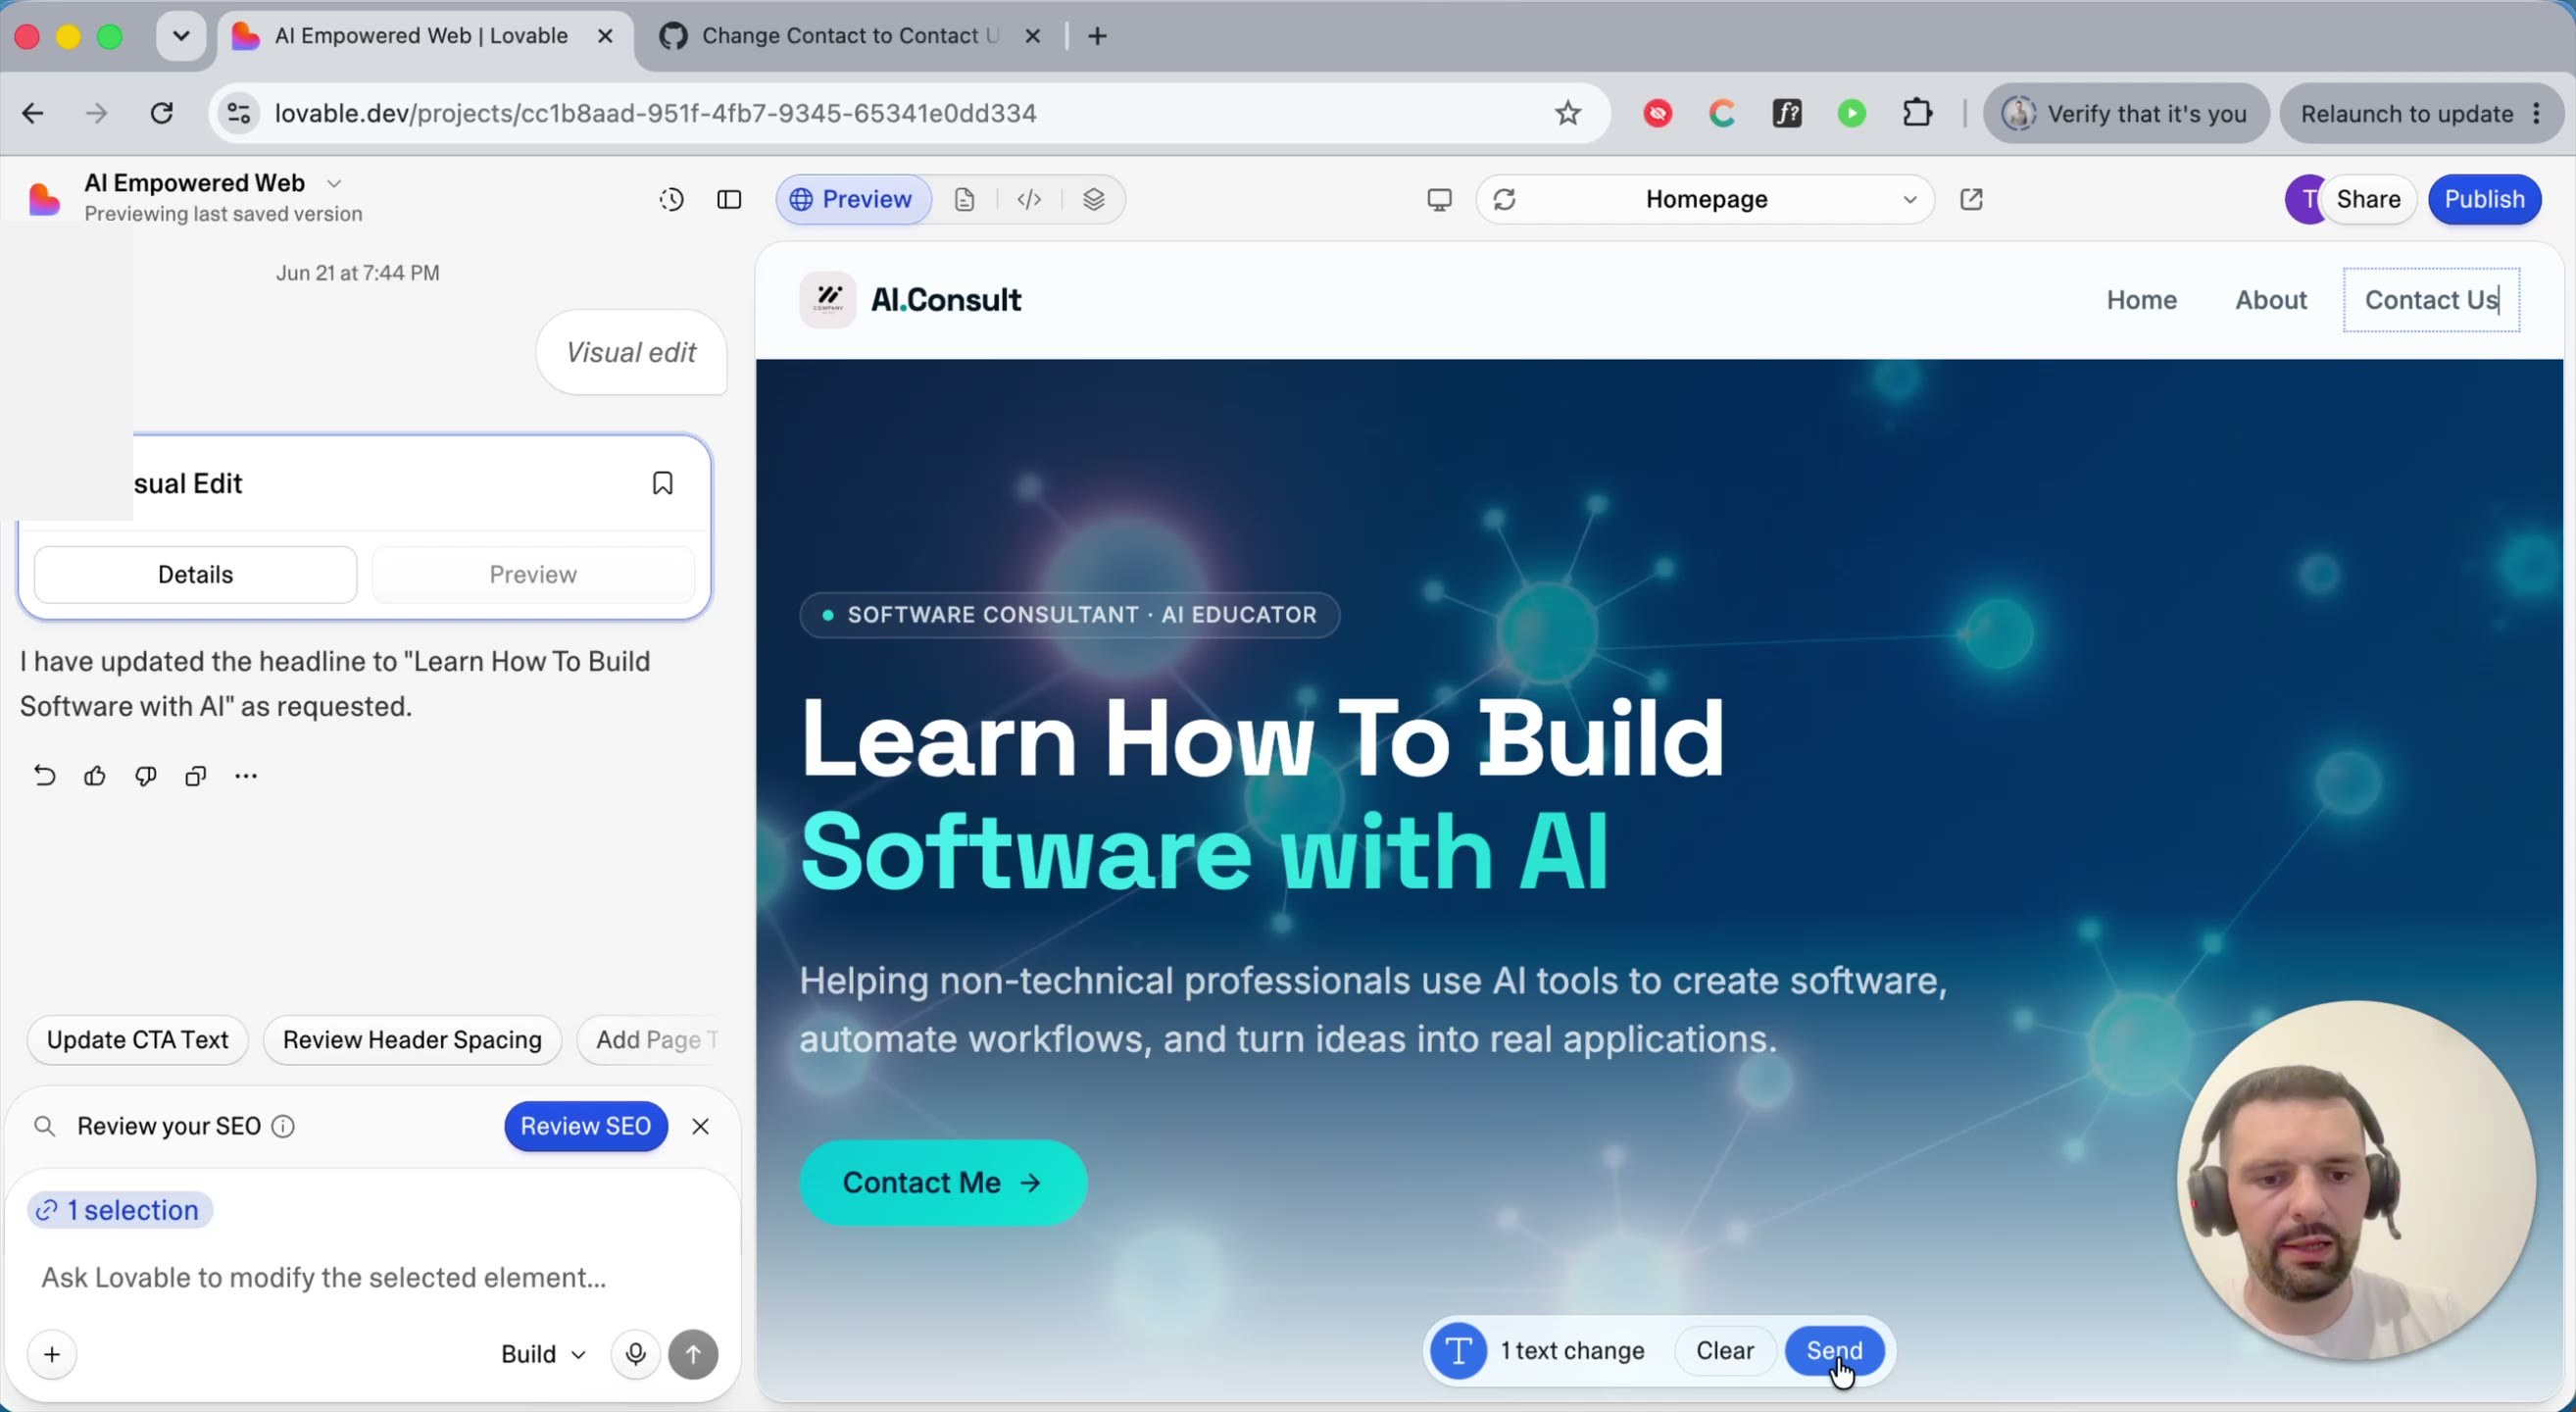
Step 8 — Know the faster alternative for tiny UI tweaks. Not every change needs a ticket and an AI agent. For something this small, Lovable's own select element tool (in the editor toolbar) lets you click directly on a piece of text, edit it inline, and send the change — faster than writing a prompt or filing an issue for a one-word label.
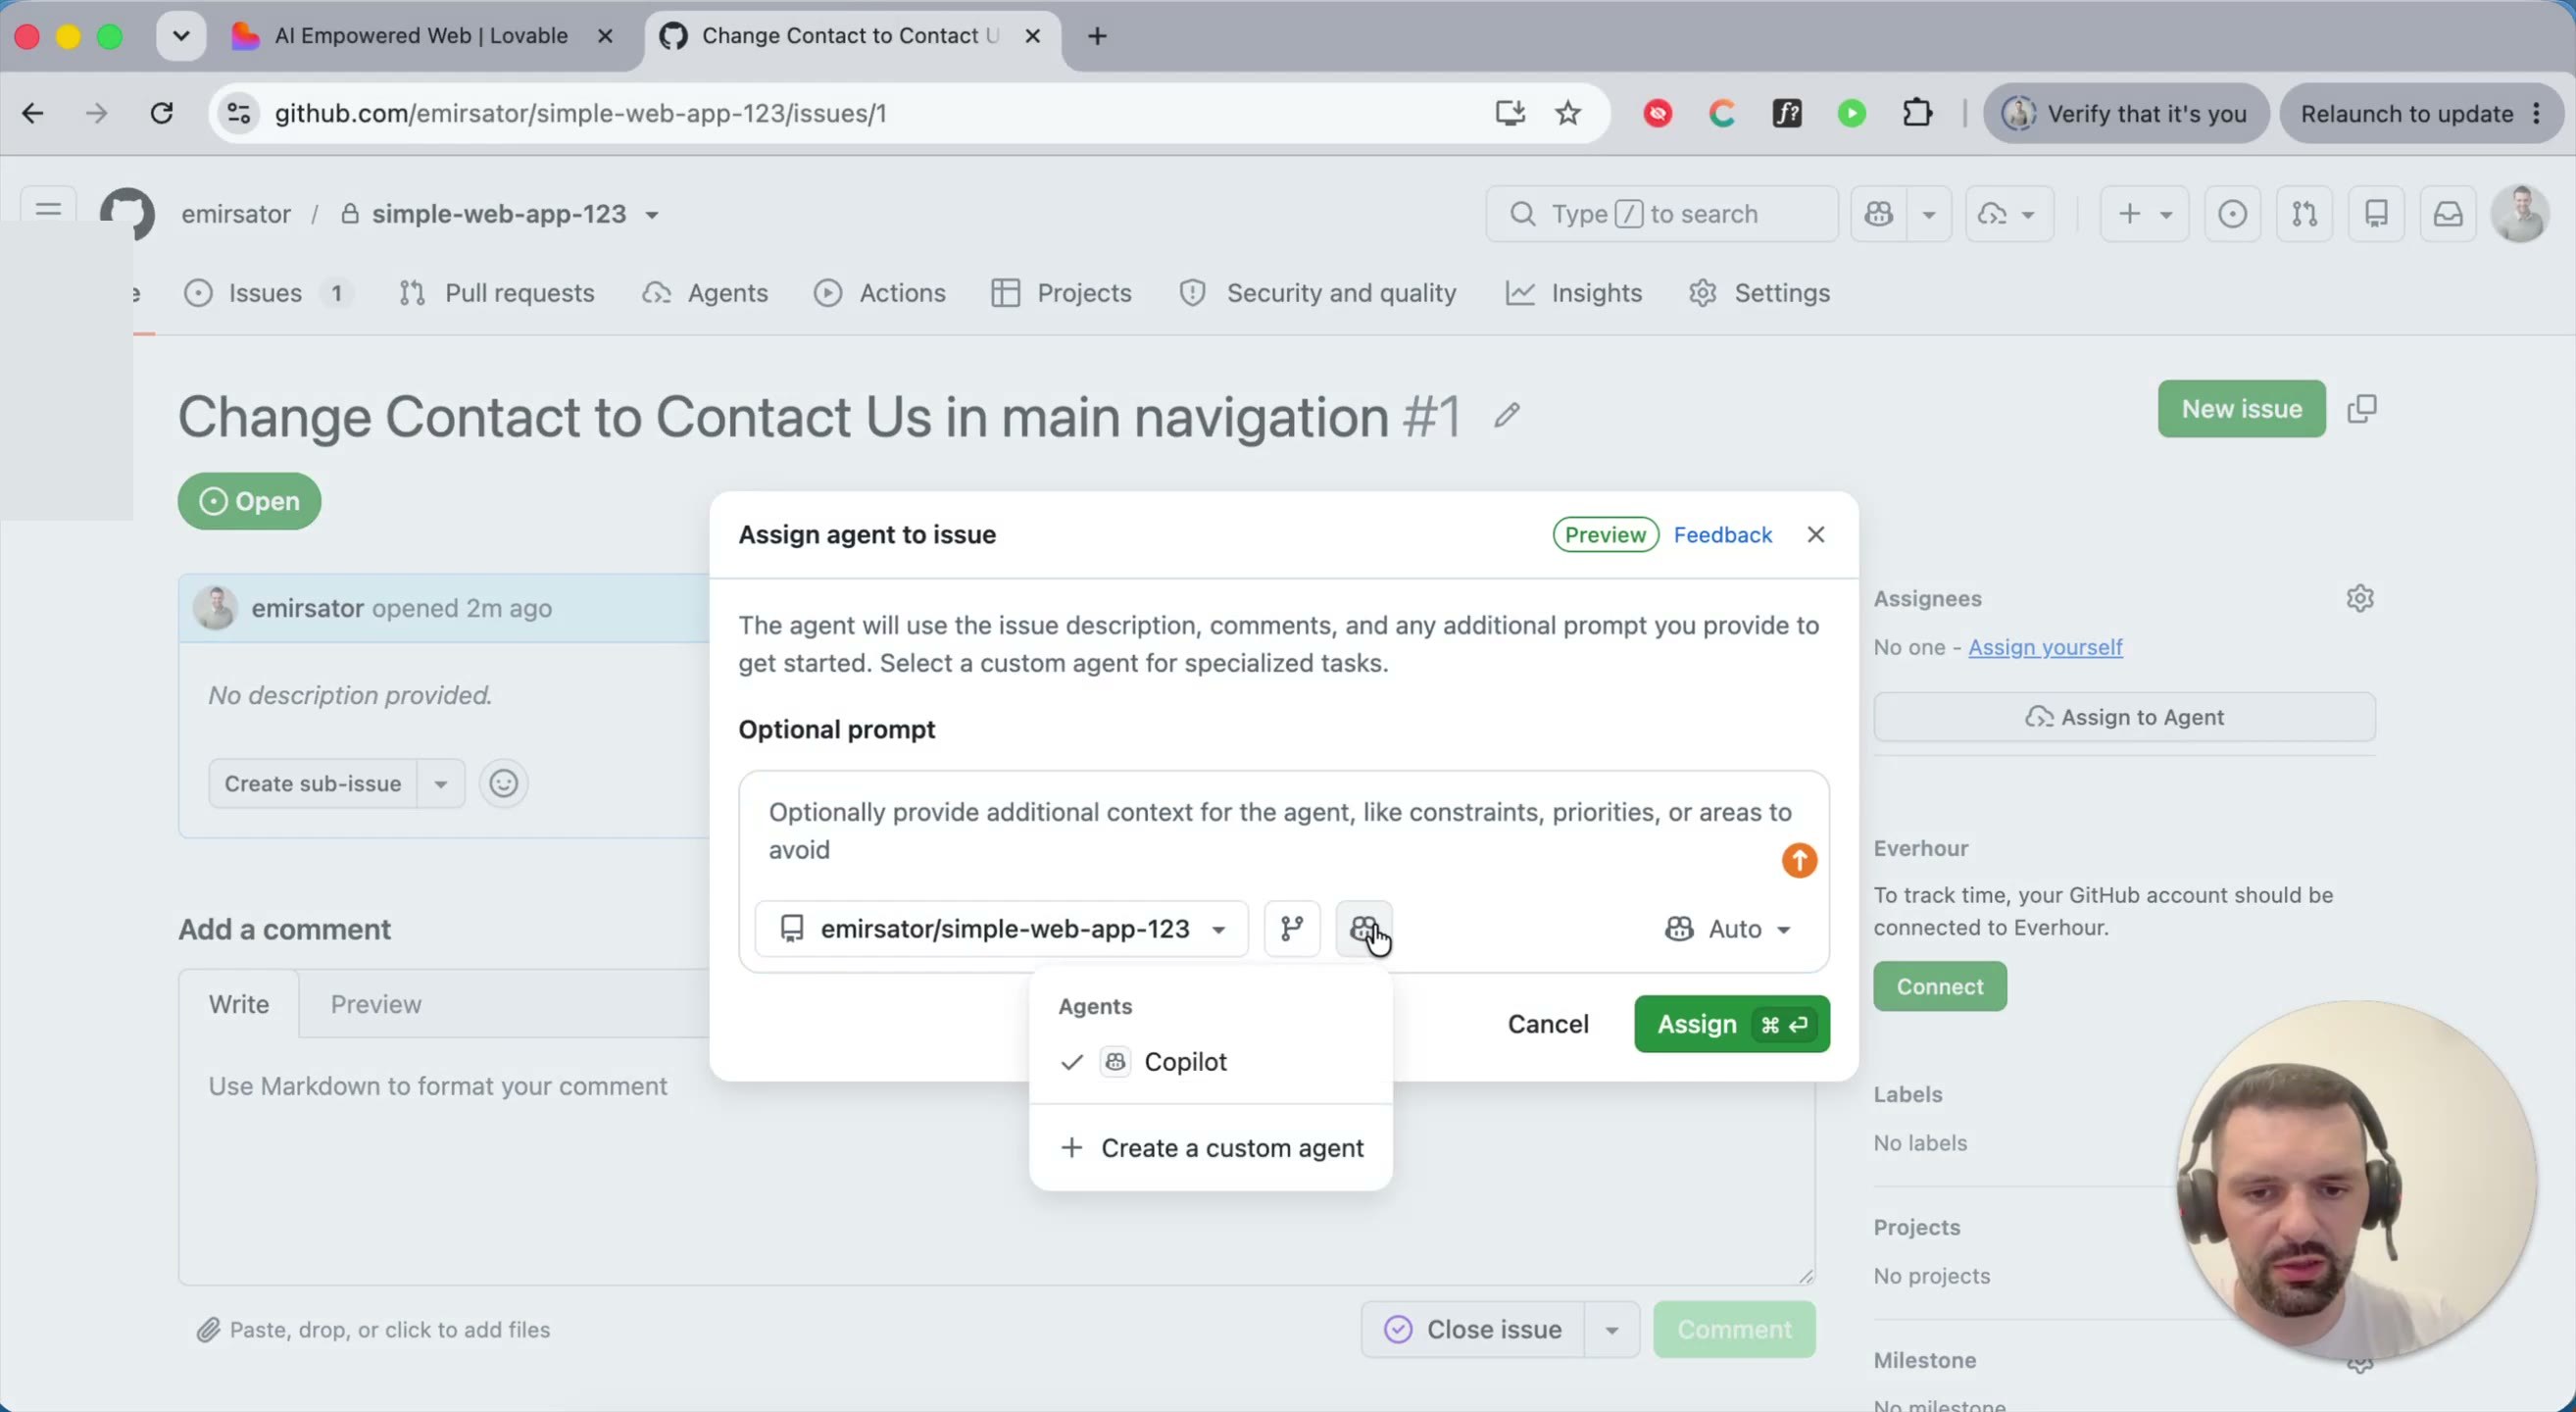
Step 9 — Assign the issue to GitHub Copilot. For anything more involved, open the issue and use Assign to Agent to hand it to Copilot — GitHub's built-in AI coding agent. Copilot uses similar underlying AI models to Lovable, but works directly against your GitHub repository. Note that Copilot is a paid add-on on top of your GitHub plan (previously a flat $19, now usage-based) — worth it for real work, overkill for a one-word label like this example.
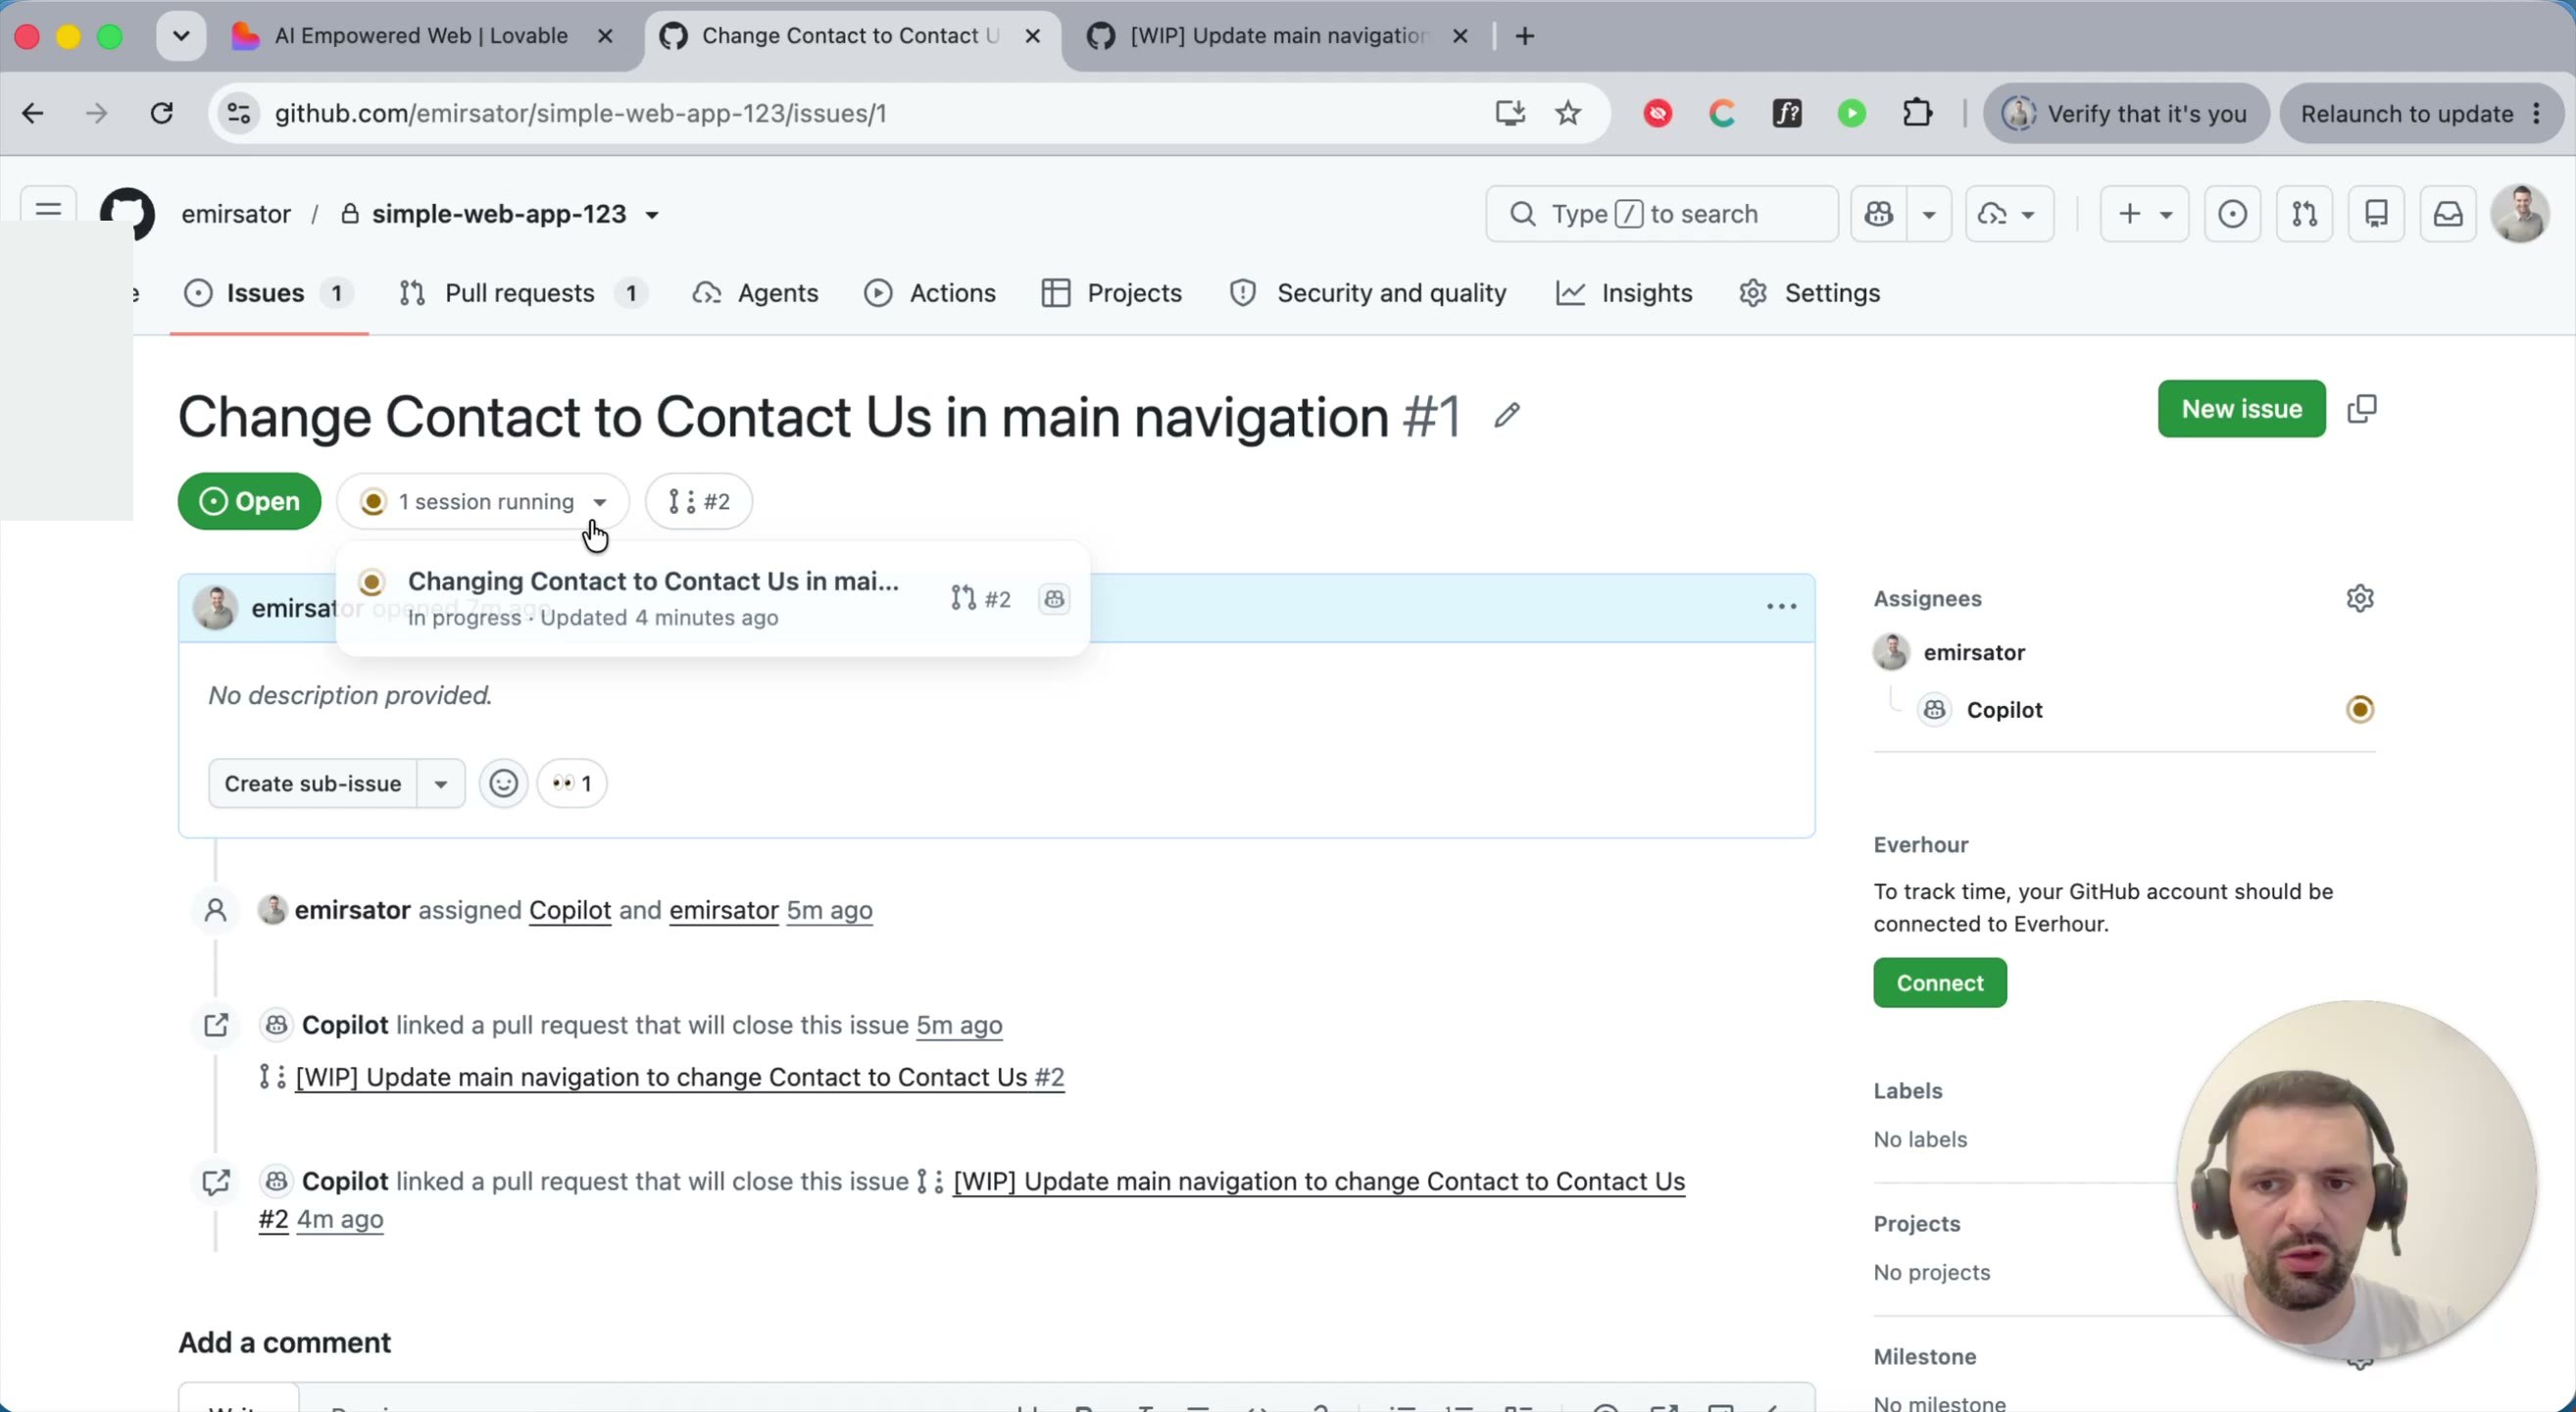
Step 10 — Watch Copilot work. Once assigned, Copilot creates a new branch, makes the change, and opens a pull request linked to the issue. You can open the session to watch its progress in real time — it verifies its own change (including opening the app in a browser to check the result) before marking itself done.
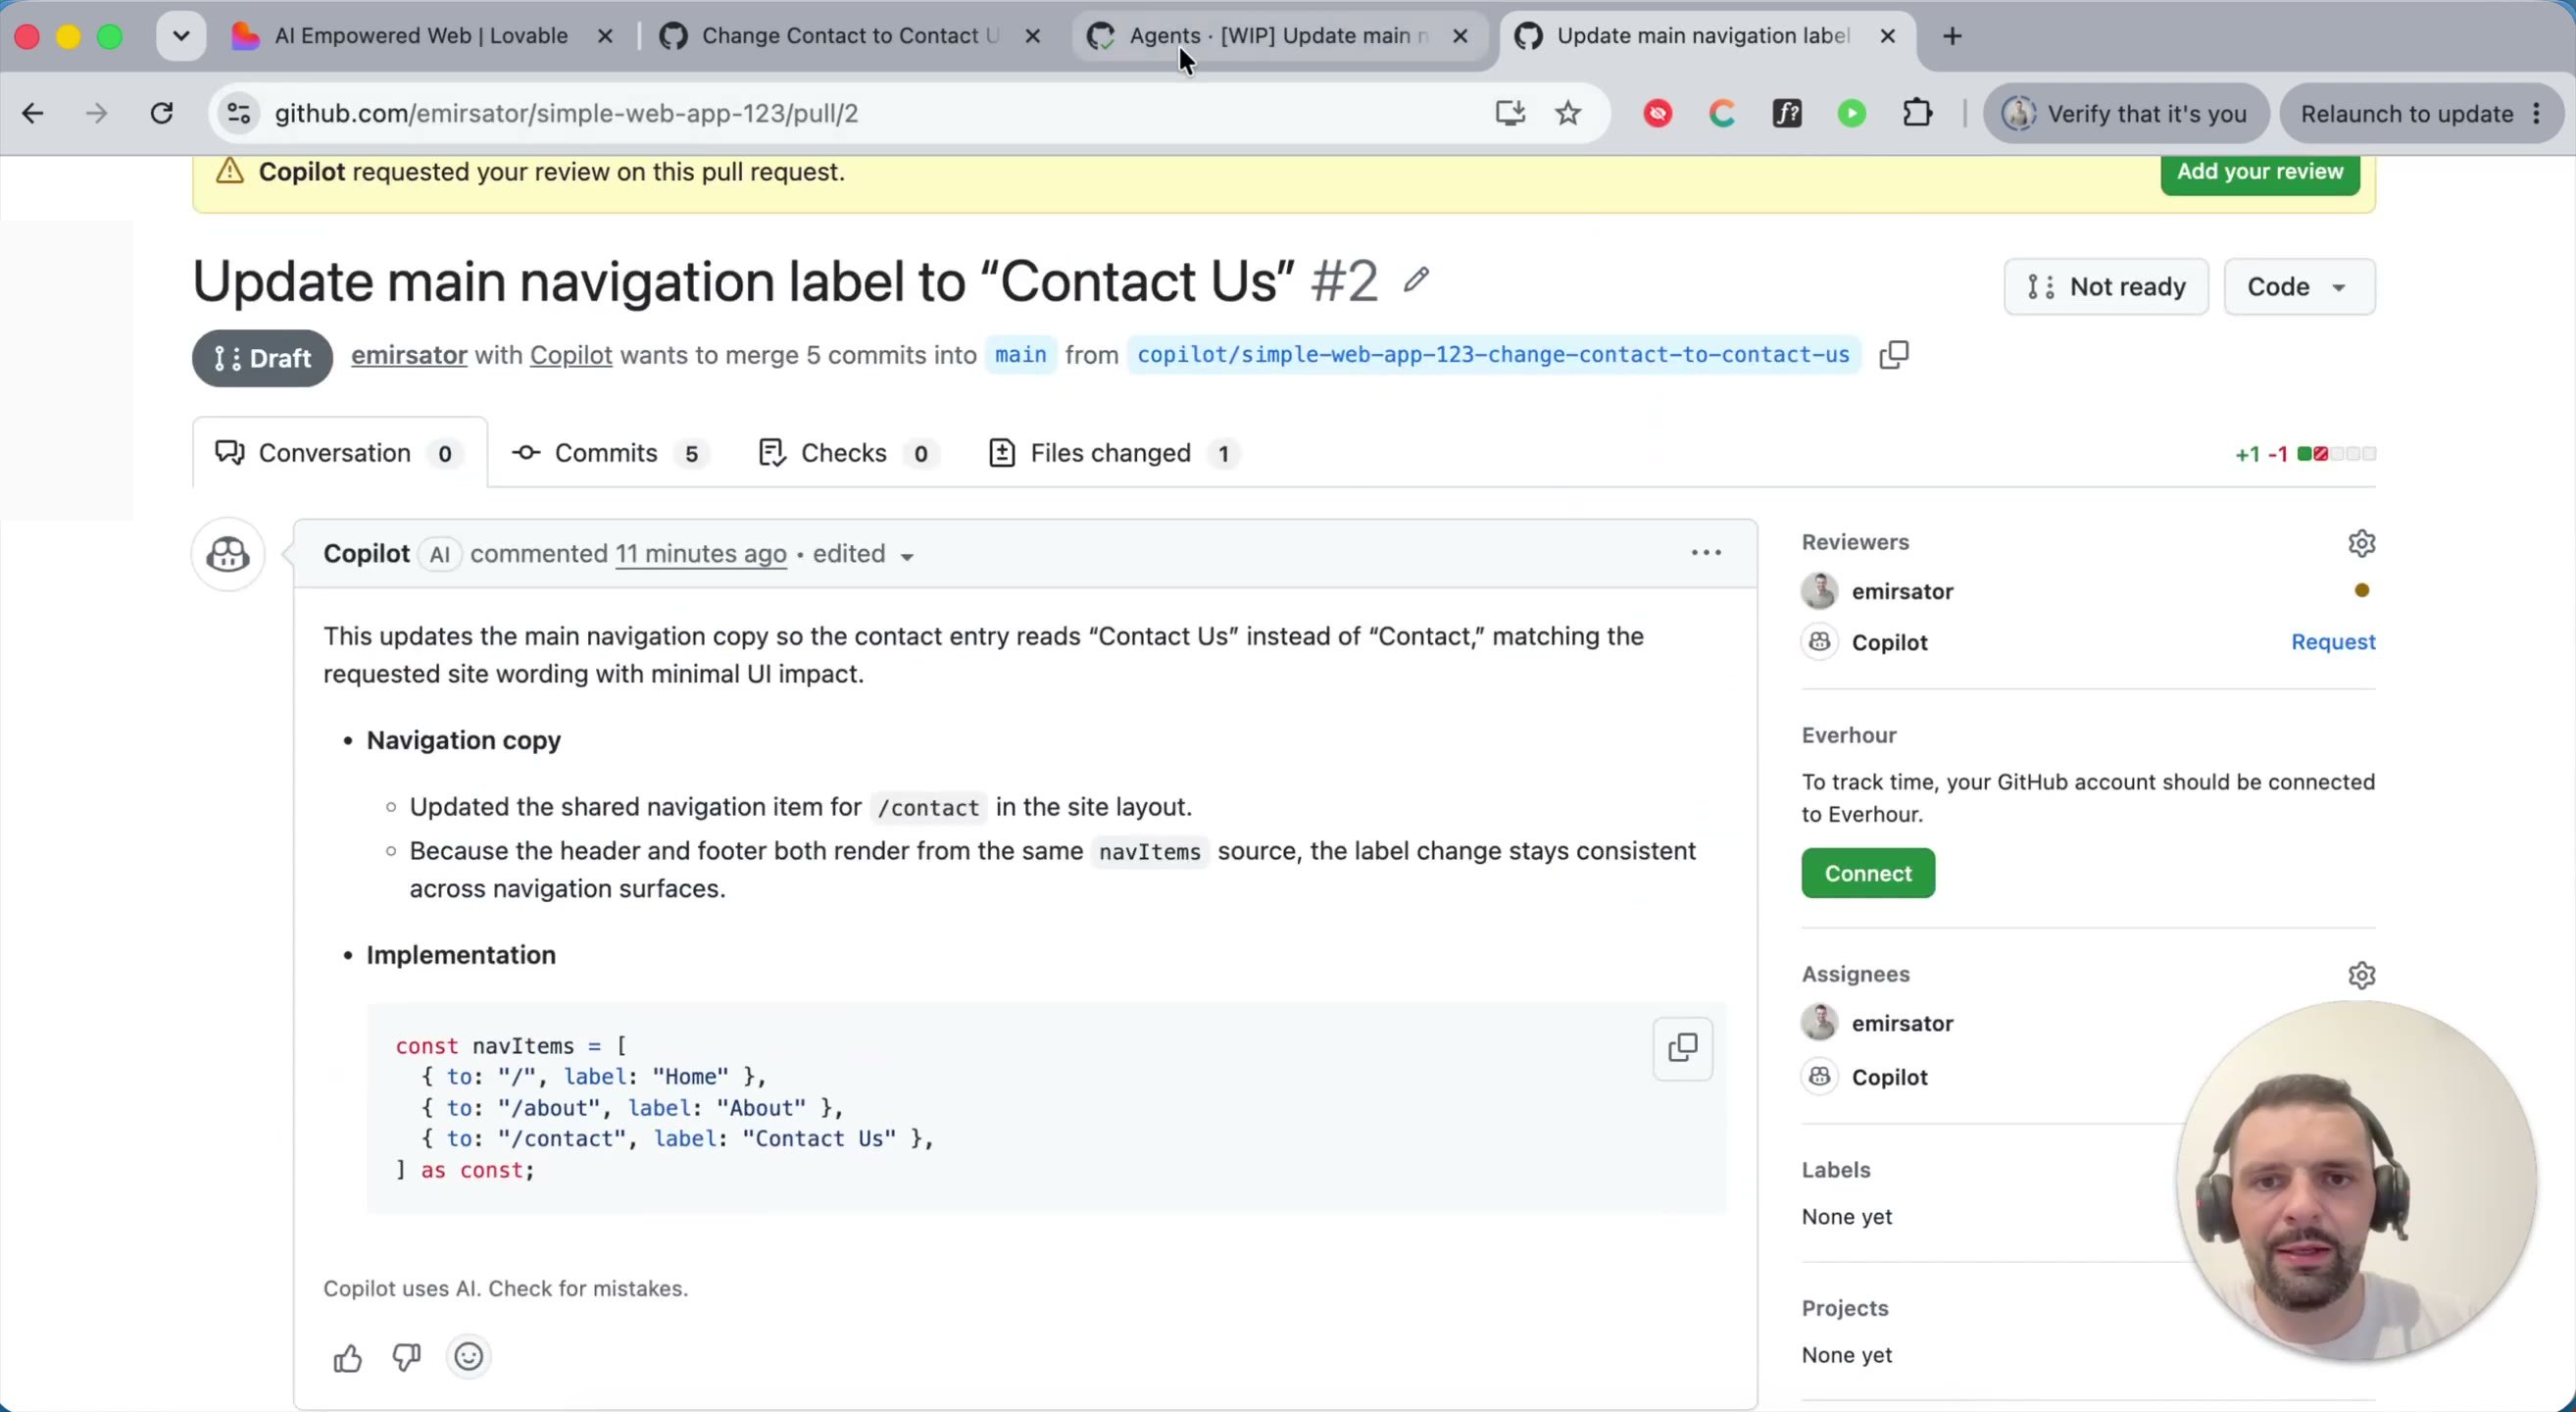
Step 11 — Review the pull request. A pull request (PR) is a proposal to bring changes from a separate branch back into your main branch — Copilot always opens these as drafts, and every PR includes a description of what changed and why.
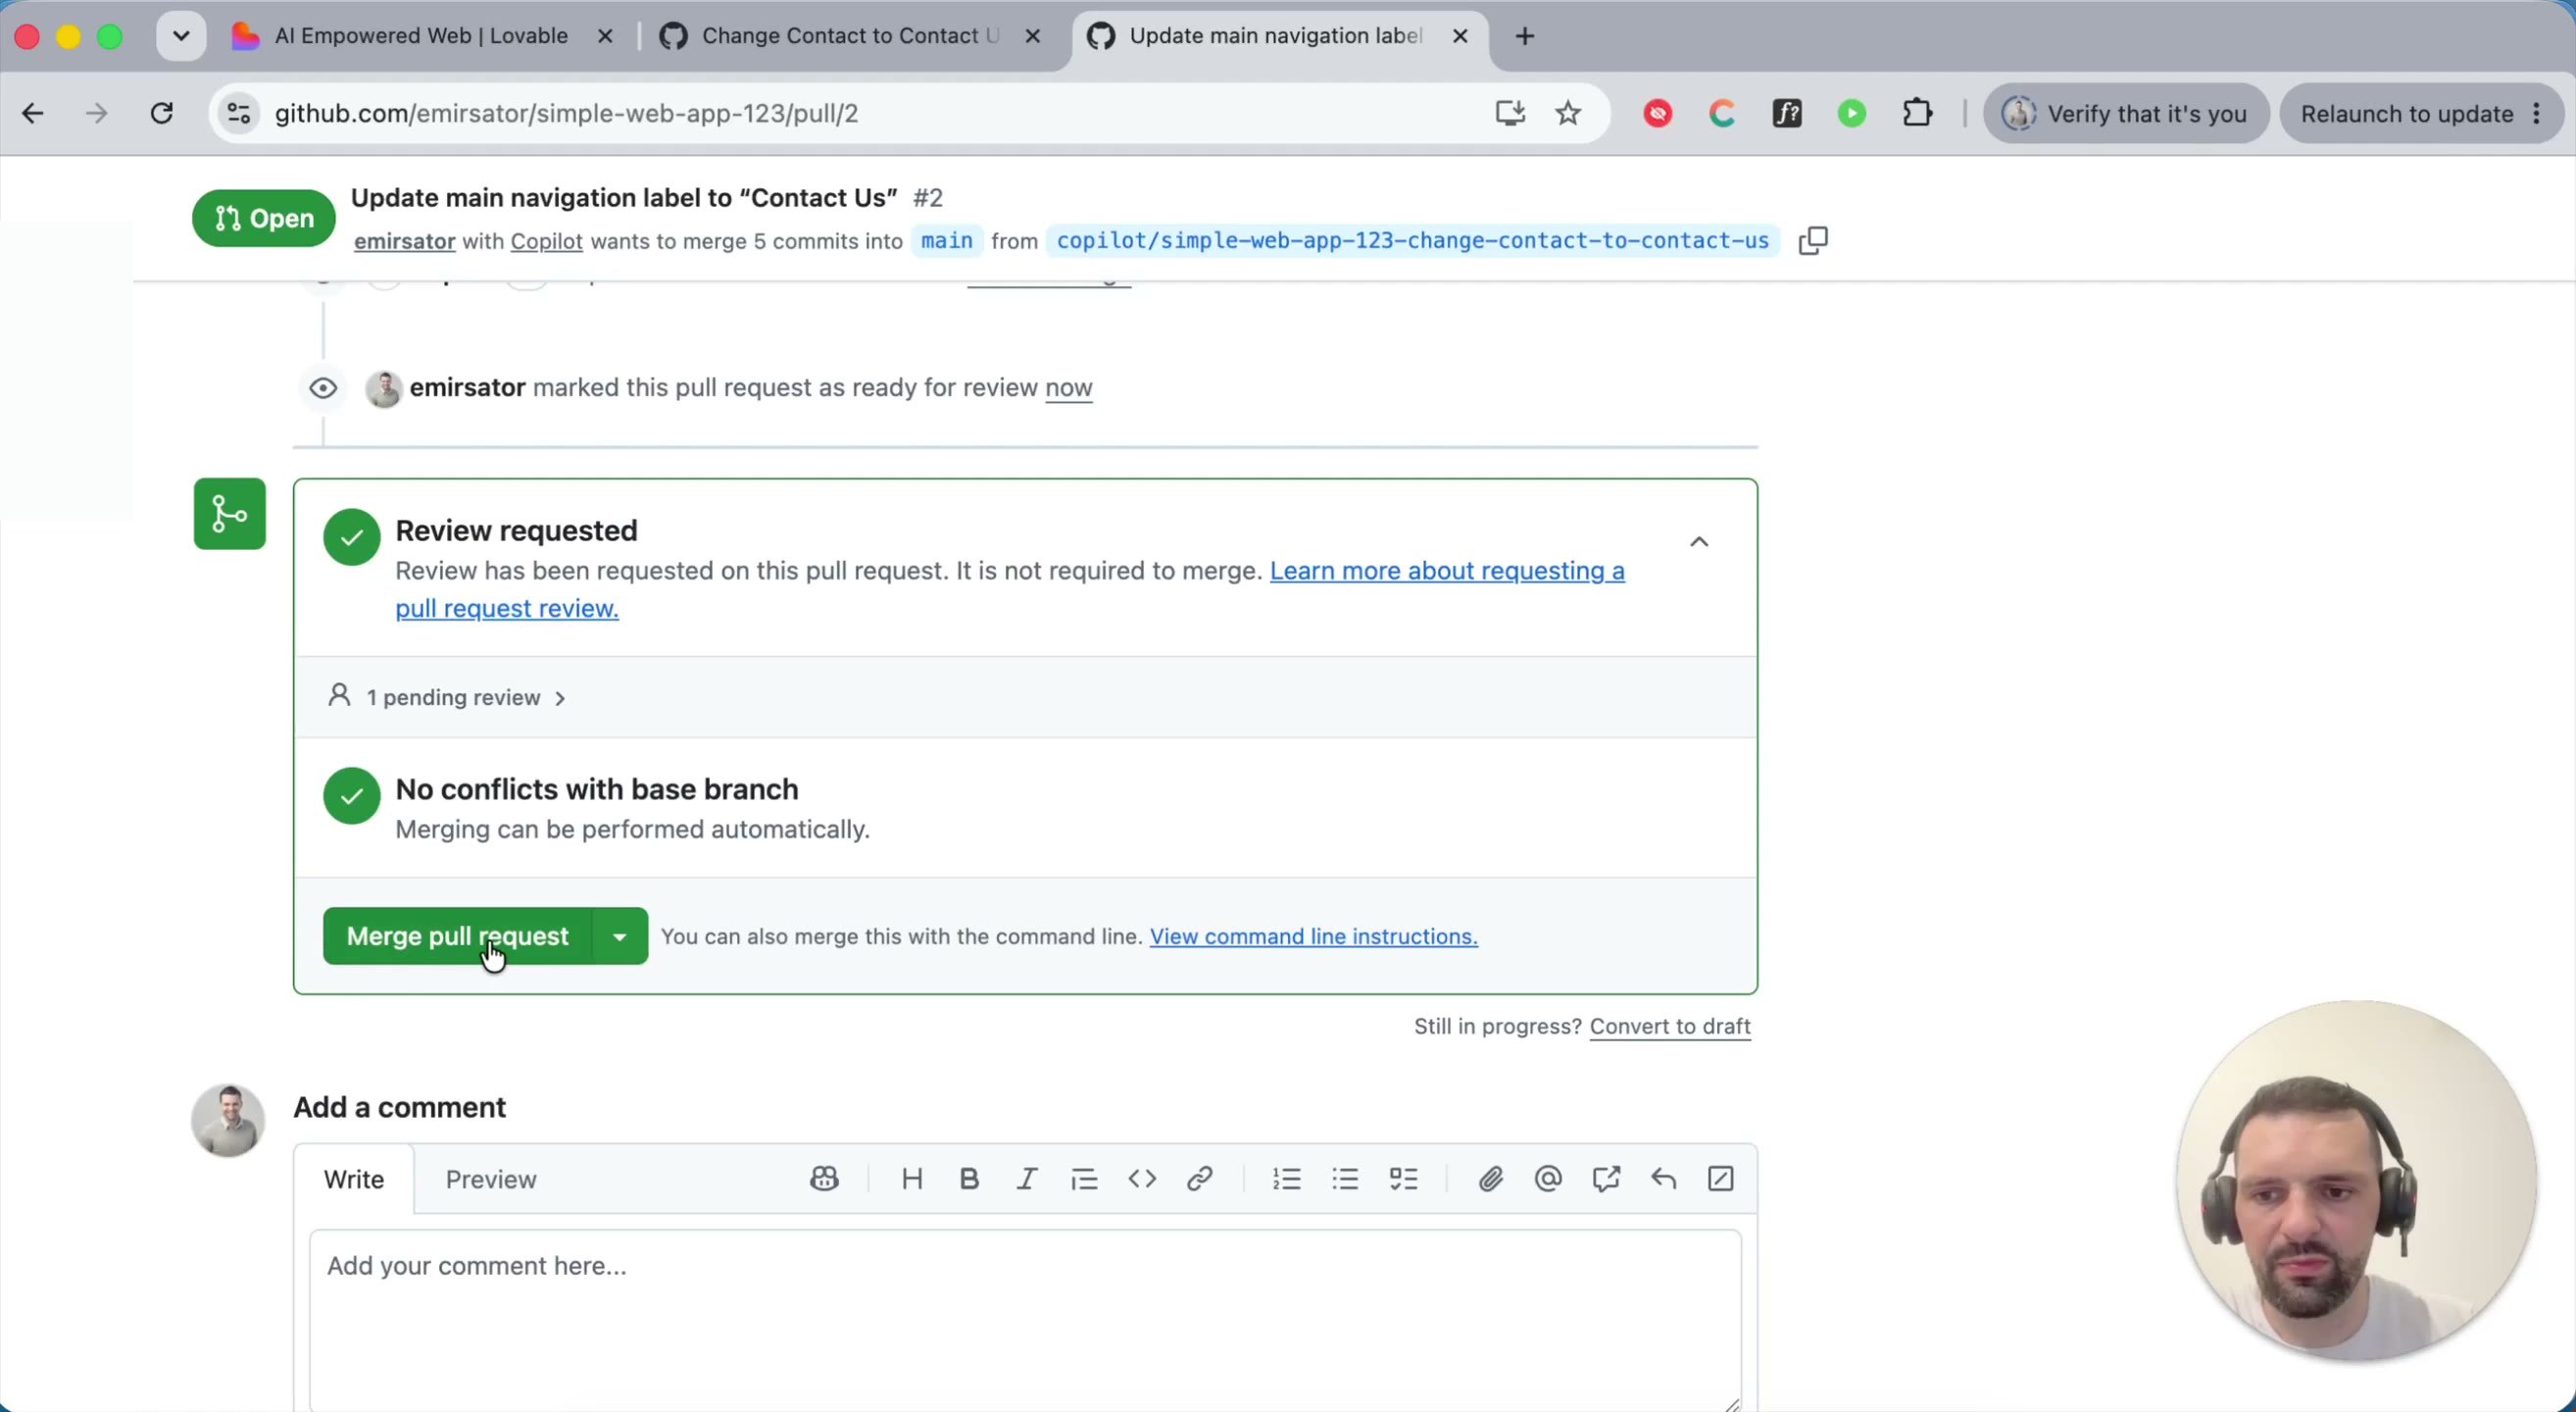
Step 12 — Merge the pull request. Once you're happy with the change, mark the PR ready for review and click Merge pull request. This is the point where the change actually lands in your main branch.
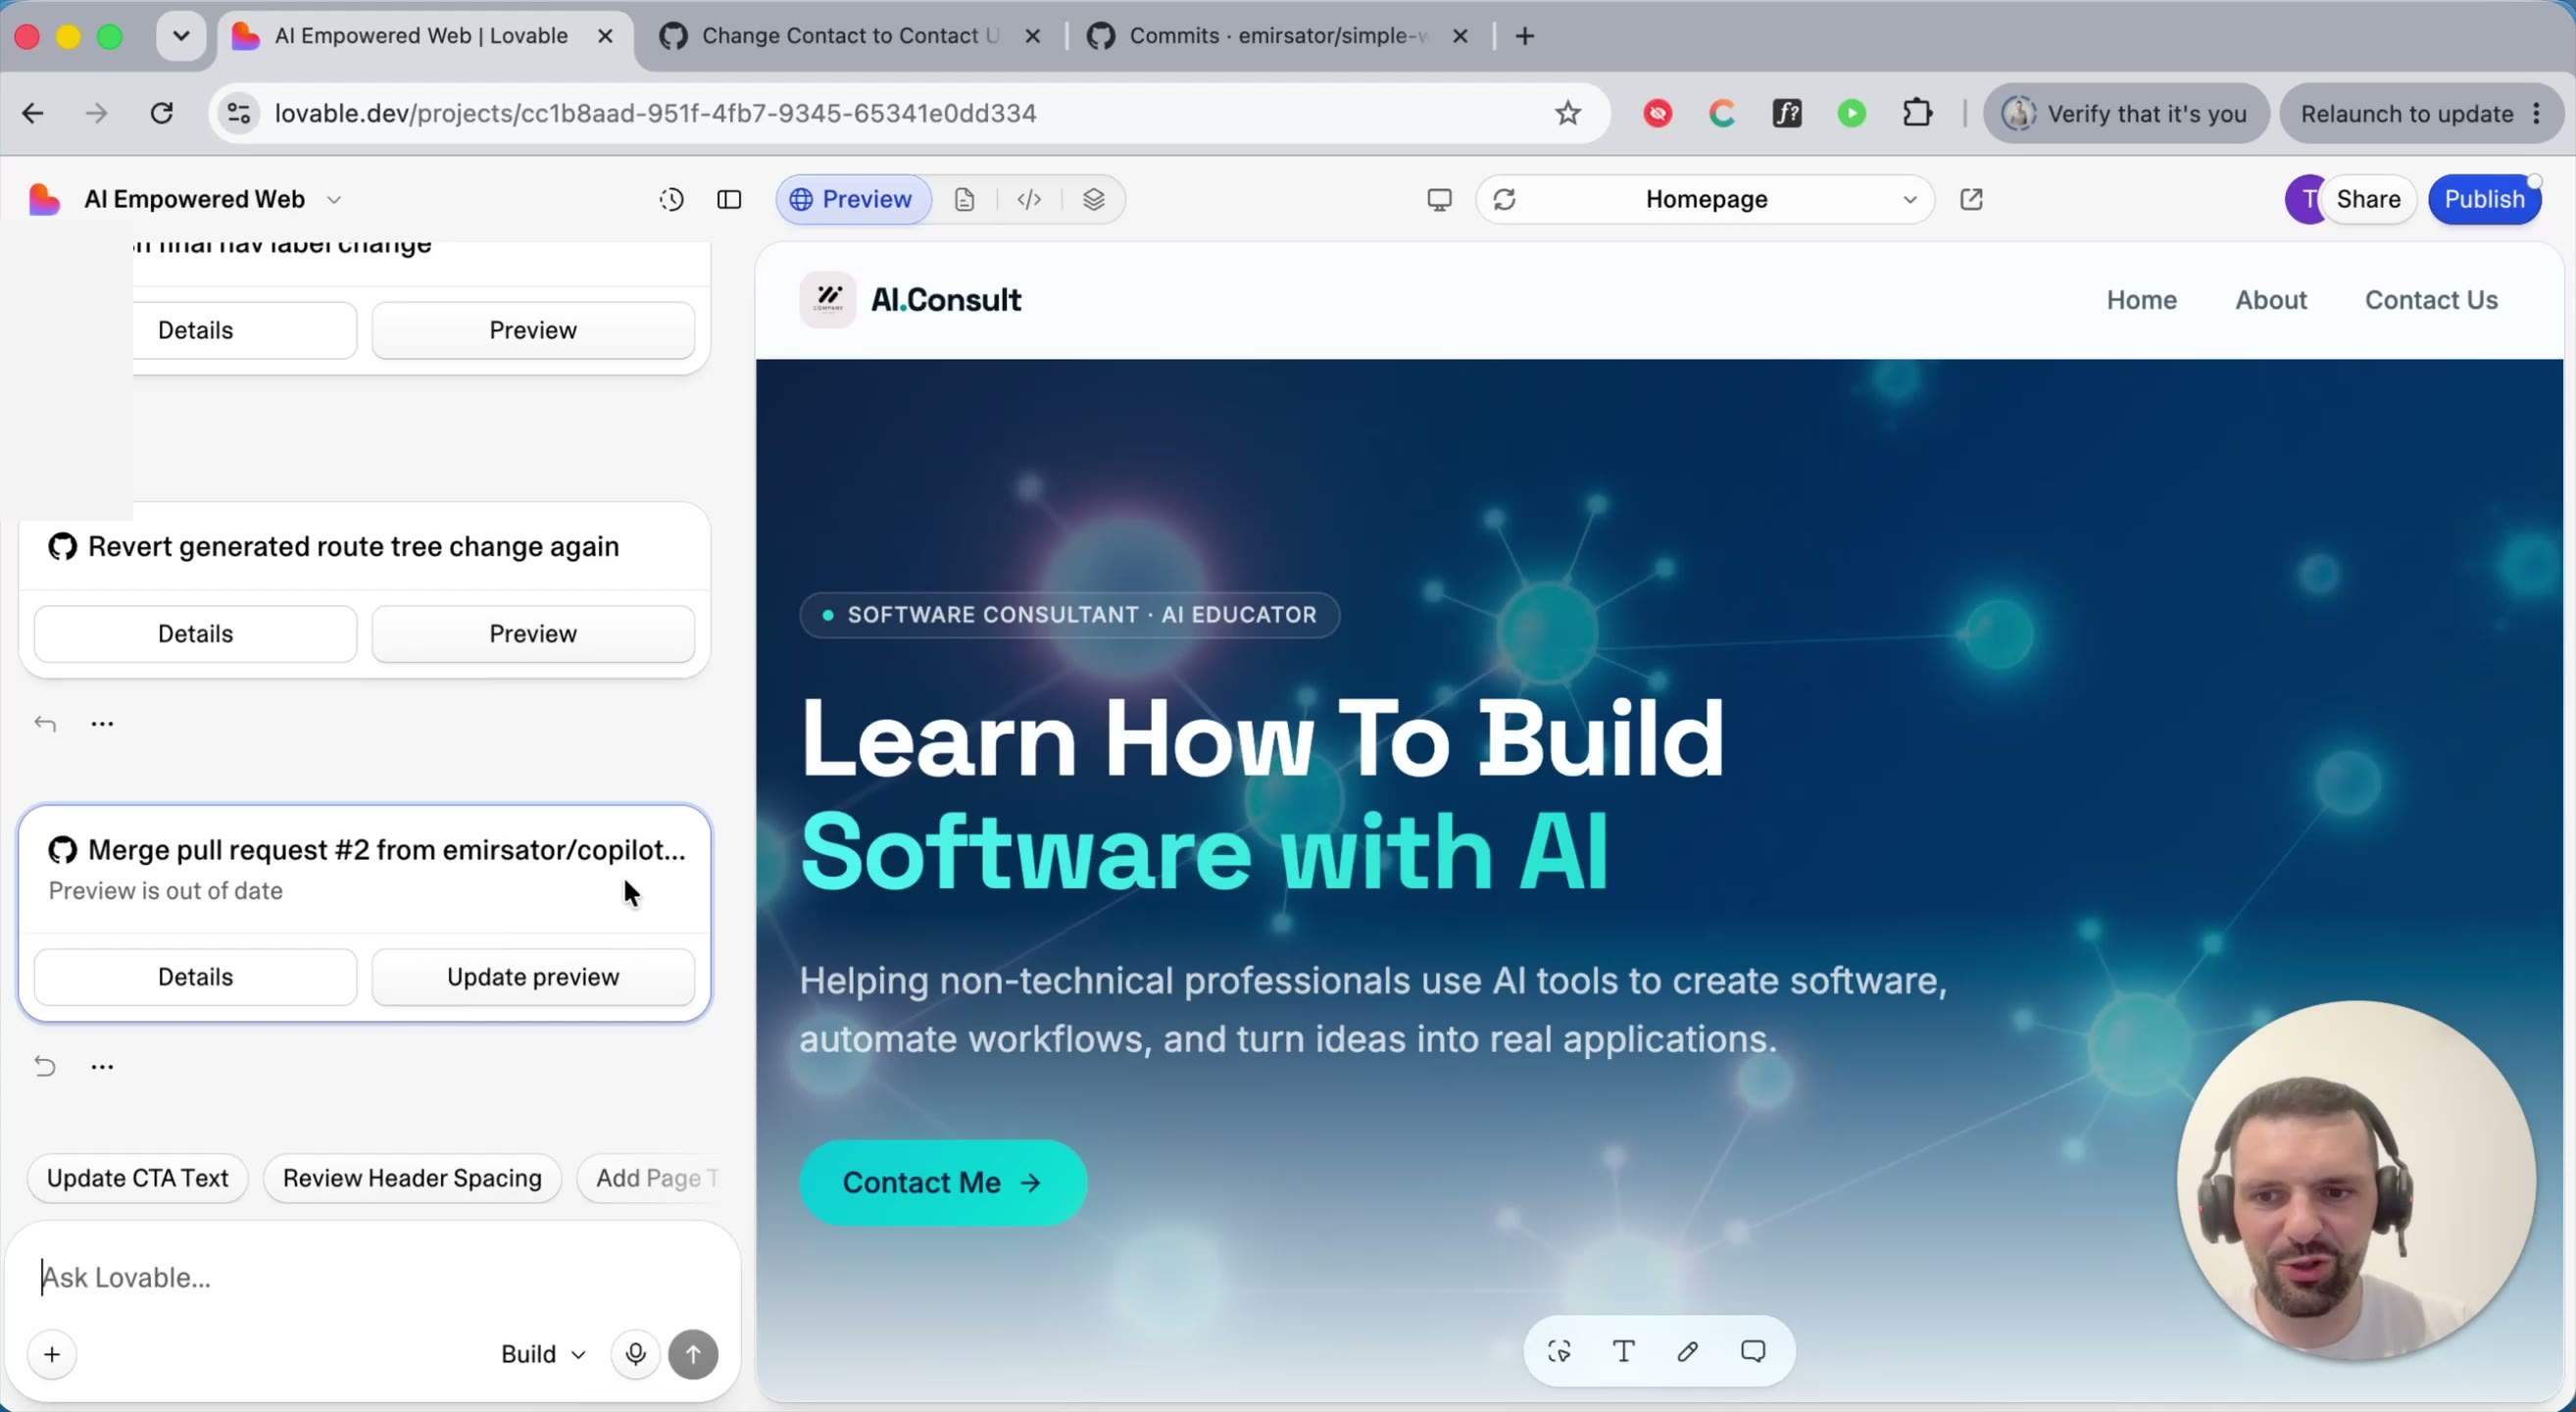
Step 13 — Watch the change land back in Lovable. Back in the Lovable editor, you'll see a note that the preview is out of date — click Update preview to pull in what changed on GitHub. Notice you did this entire change — issue, Copilot, review, merge — without touching a Lovable prompt or spending a single Lovable credit. Merging the pull request also automatically closes the original issue.
A note on branches and pull requests
Source control organizes code as a tree of branches. Your main branch (often
called main or master) is the source of truth. For a solo project, committing
directly to main works fine — but the moment more than one person or agent is working
on the code, it's better to create a separate branch for each change, verify it in
isolation, and only merge it into main once it's confirmed good.
This is exactly what Copilot does automatically: every issue you assign gets its own branch and its own pull request, so multiple changes — even 10 tickets at once — can be worked on in parallel without stepping on each other, and nothing reaches your main branch until you've reviewed and merged it.
A future post in this series covers what a pull request merge can trigger automatically — deploying your changes the moment they land in main, without any manual publish step.