Lovable for Beginners: Build Your First Website with AI
This is a hands-on guide for non-technical founders and first-time builders getting started with Lovable, an AI tool for building websites and web apps from plain-English prompts. It covers pricing, account setup, and building and testing your first project — written so you can follow along directly from this post.
Lovable makes it fast to get something working, but it's easy to burn through credits or end up with a messy first draft if you don't plan a little first. This guide covers both: how to use the tool, and how to use it well.
Part 1: Pricing and Account Setup
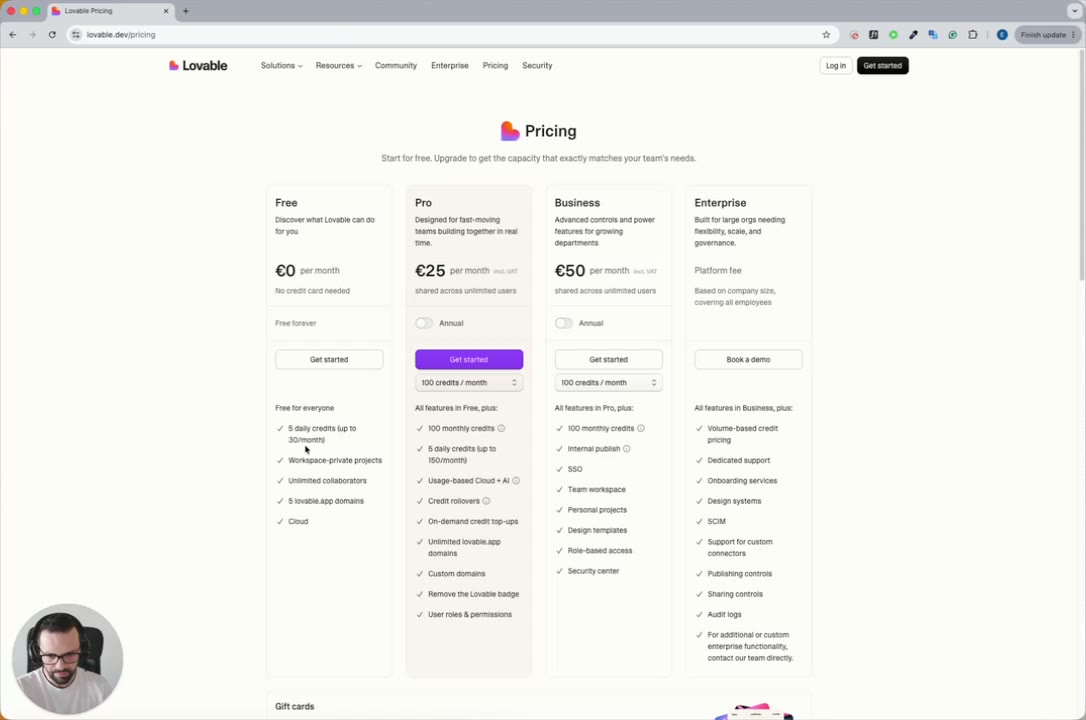
Step 1 — Check the pricing plans. Lovable's free Hobbyist plan gives you 5 daily credits — enough to test the tool, but not much more. A credit is roughly one AI instruction ("build me this," "change that"), so 5 credits disappears fast. The Pro plan (€25/month) gives you 100 monthly credits, usage-based add-ons, and credit rollover for months you don't use it much. If you're serious about building something, start with Pro; if you just want to poke around, the free plan is fine.
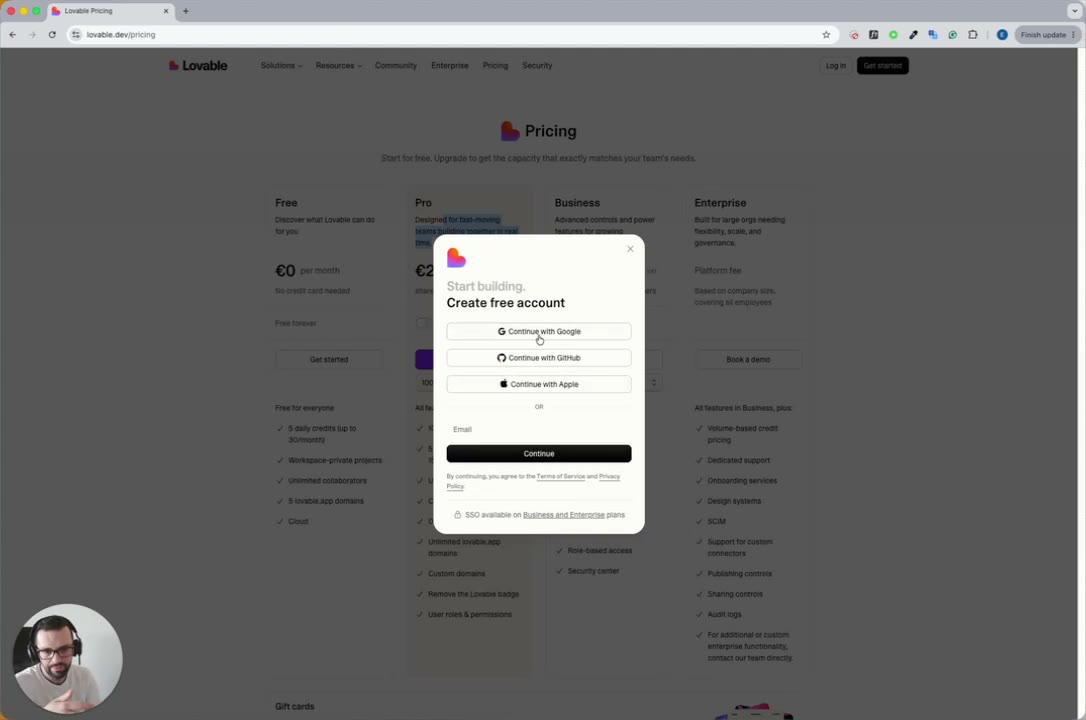
Step 2 — Create your account. Click Get Started, then sign up with Google, GitHub, Apple, or email and password. Enterprise plans also support SSO (single sign-on) — logging in once with your company account to access multiple tools without separate credentials.
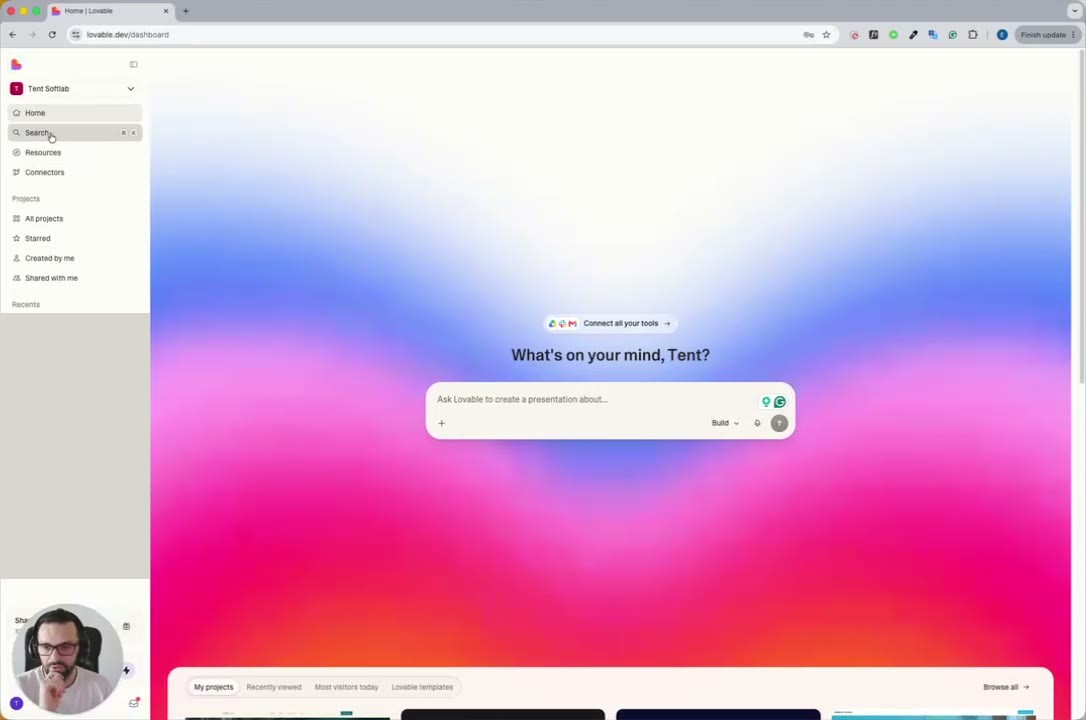
Step 3 — Get to know your dashboard. Once you're in, the left sidebar is your main navigation:
- Home — the prompt box where you start new projects.
- Search, Resources, Connectors — Connectors is where you link third-party tools (Google Suite, OneDrive, and similar).
- Projects — All projects, Starred (your pinned favorites), Created by me, Shared with me.
- Recents — your most recently opened projects.
Step 4 — Organize your work with folders. Inside Projects, click Create to add a New project or New folder. If you're going to build more than one or two things, create folders up front — it keeps things much easier to find later.

Part 2: Creating Your First Project
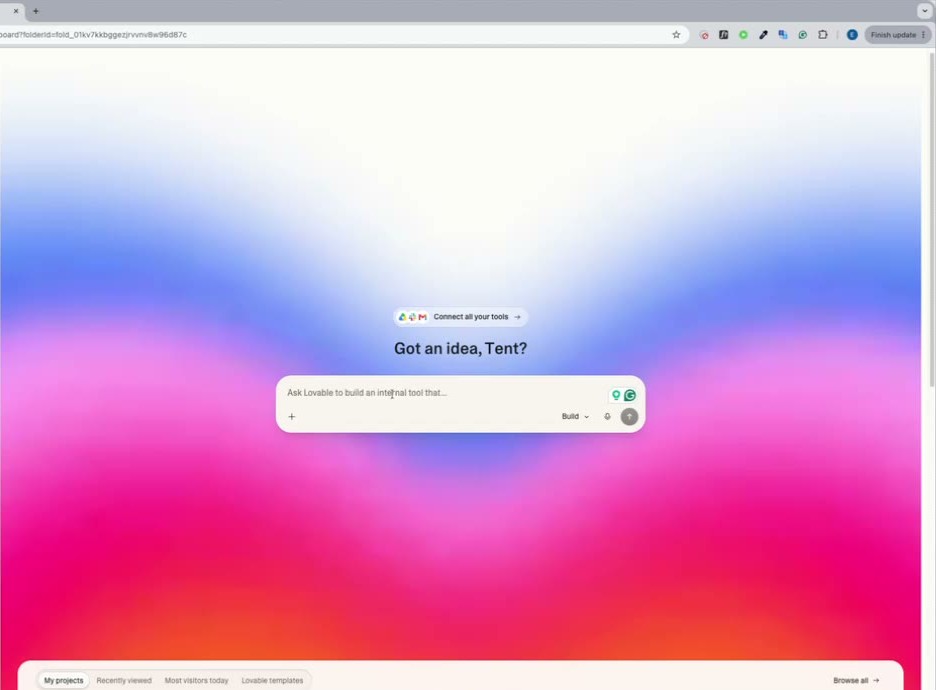
Step 5 — Start a new project. From Home (or inside a folder), type what you want into the prompt box. Notice the Build ⌄ selector next to it:
- Build — Lovable takes your instruction and generates the result immediately.
- Plan — Lovable talks through the requirements with you first and asks clarifying questions before generating anything. Useful when your idea is still fuzzy. Both modes use credits.
Step 6 — Write a better prompt before you build. The quality of your prompt directly drives the quality of the result — "build me a killer app" gives the AI almost nothing to work with. Before building, it's worth spending five minutes preparing a detailed prompt. You don't need to do this by hand: ask ChatGPT, Gemini, or Claude to turn a rough idea into a well-structured Lovable prompt (voice input works well for this — it's often faster than typing out your requirements).
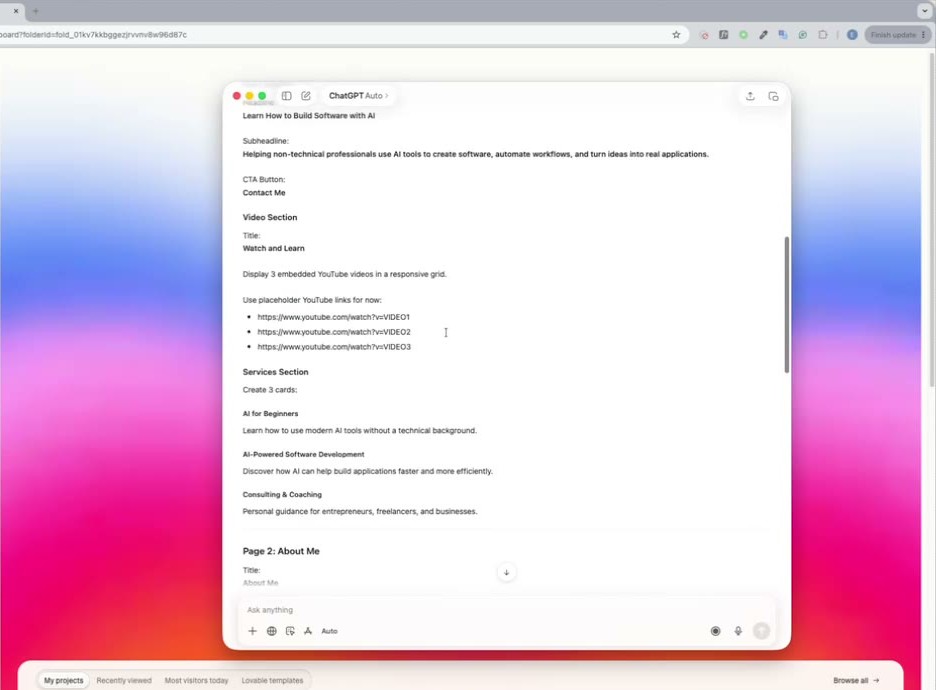
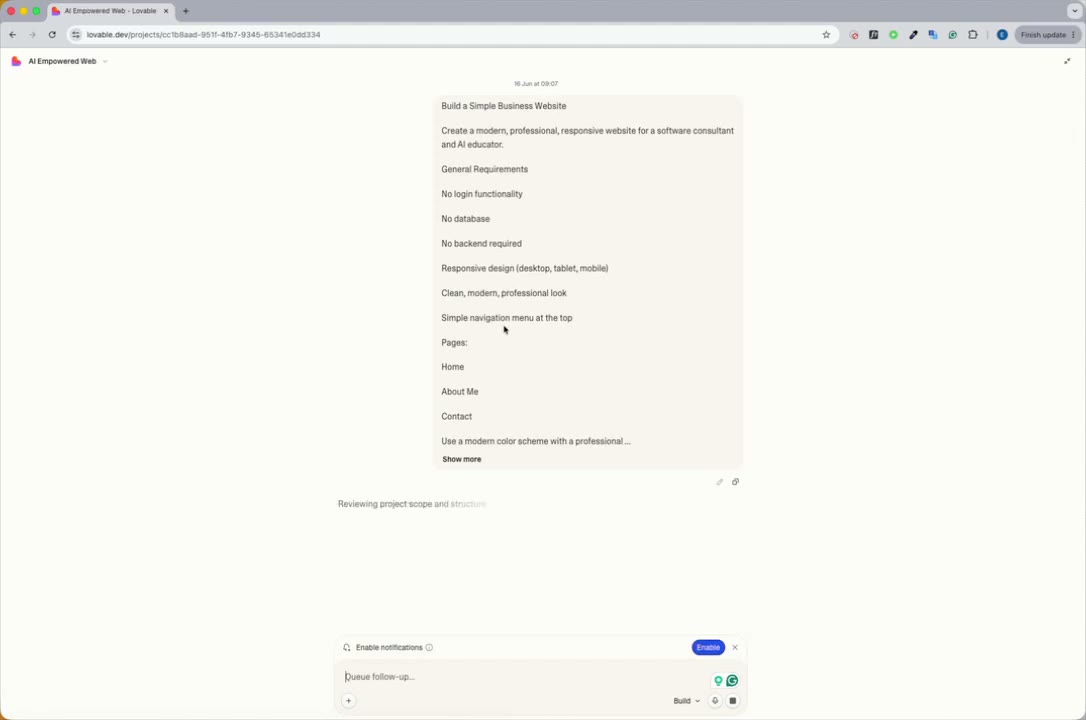
Step 7 — Paste your prompt and build. Copy the prepared prompt into Lovable, make sure Build is selected, and send it. You'll see a live log of what it's doing — reviewing scope, listing routes, generating files — while it works.
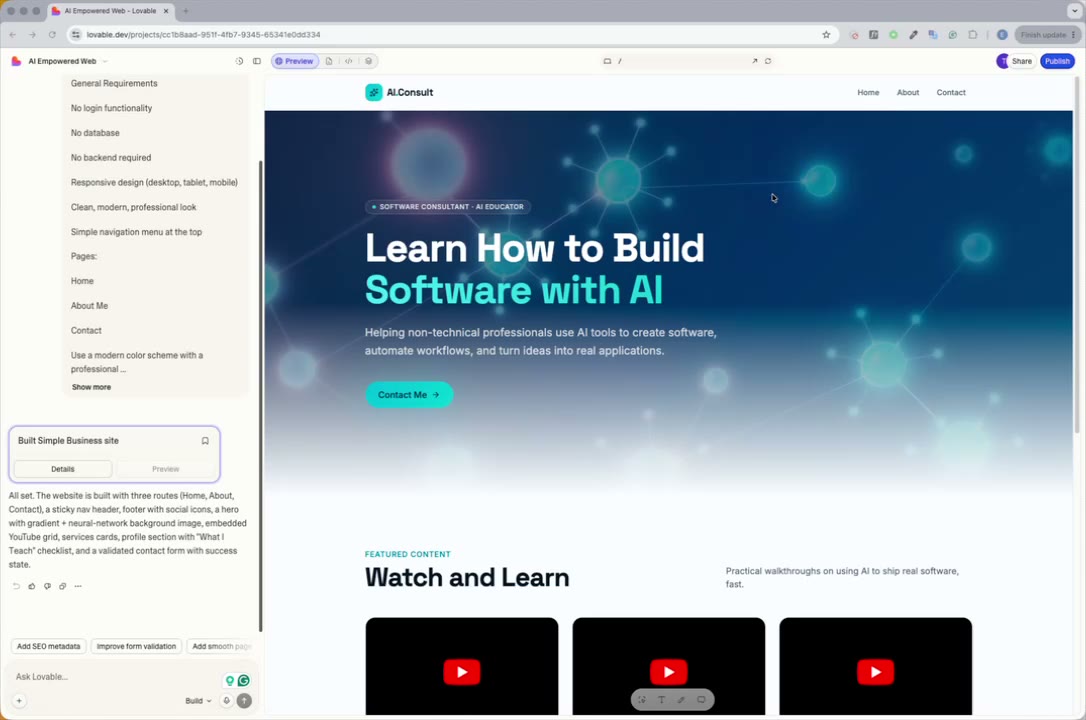
Step 8 — Review your first result. A first build usually takes a few minutes. What you get is a real starting point — pages, navigation, a generated logo and background, working layout — but expect placeholder content and generic AI-picked imagery rather than something production-ready.
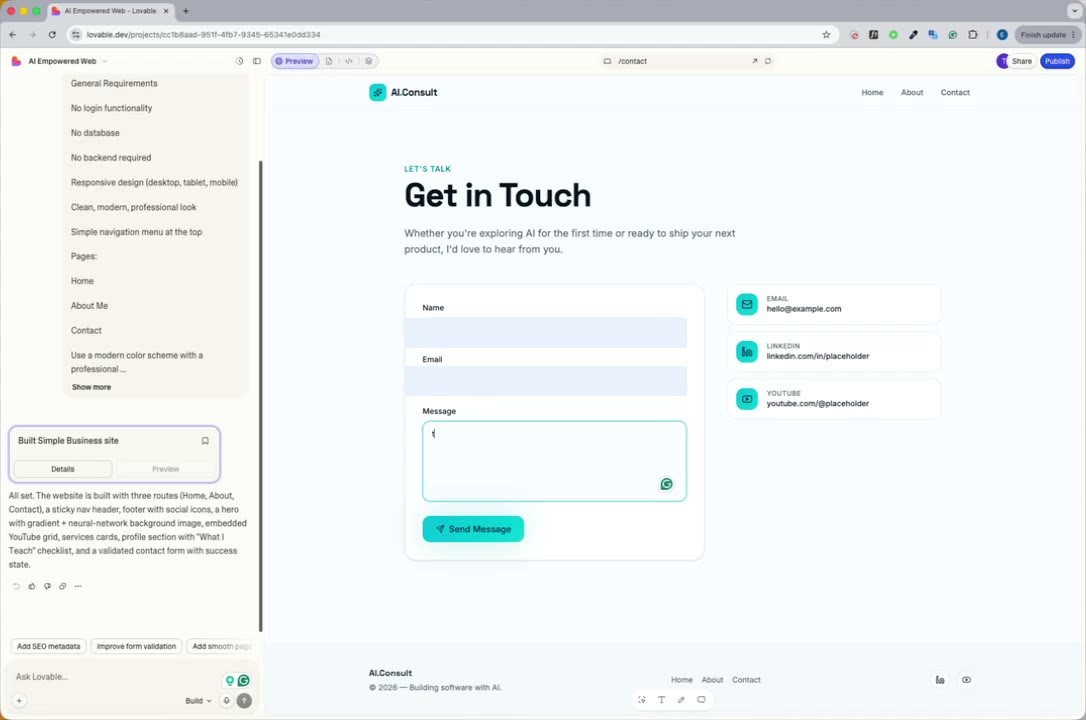
Step 9 — Test what you built. Click through the generated pages and try anything interactive, like a contact form. Don't assume it's fully wired up — a generated form can submit successfully in the UI without actually being connected to an email service yet.
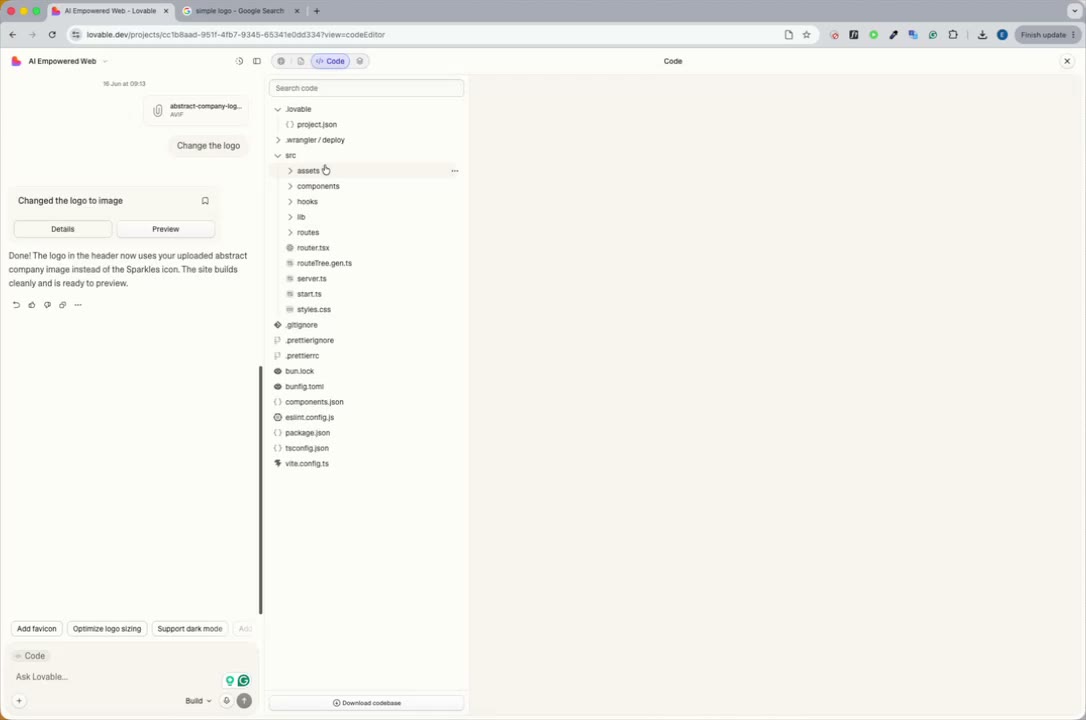
Step 10 — Customize with your own assets. To swap in your own logo or images, drag and drop the file directly into the chat and describe the change — Lovable will apply it and tell you what it did.
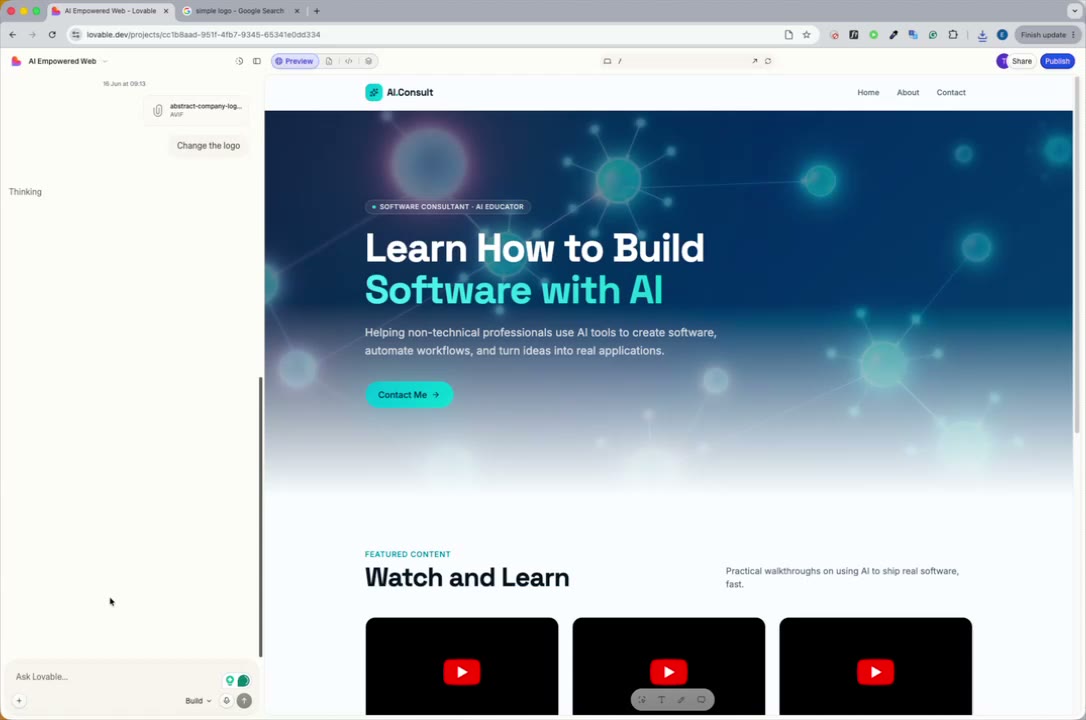
Step 11 — Look at the code (it's not scary). Alongside Preview, you'll find Files and Code tabs. Code is just a set of instructions telling the browser what to render and how it should behave — you don't need to touch it, but it's worth knowing it's there and that it isn't magic.
A note on credits
Every AI instruction costs a credit, so a hundred tiny one-off edits will burn through your plan fast. The practical balance:
- Batch related changes into one prompt instead of sending them one at a time.
- Don't overload a single prompt either — asking for 20+ unrelated changes at once can make the AI lose the thread and produce worse results.
- Skip AI entirely for trivial edits. Small text tweaks can often be made directly in the visual editor without spending a credit at all.
That's the full loop: plan your prompt, build, test, and iterate. The next post in this series covers what happens after your first build — publishing your project and connecting a custom domain.